
How to Create Multi-Layered Vinyl Decals
Table of Contents
“Crafting Complexity: Mastering the Art of Multi-Layered Vinyl Decals”
Introduction
Creating multi-layered vinyl decals involves a process of designing, cutting, and layering adhesive vinyl to produce a colorful and textured graphic. These decals can be used for a variety of applications, from personalizing vehicles and laptops to creating signage and wall art. The process requires precision and attention to detail, as it involves aligning multiple layers of vinyl to create a cohesive and visually appealing design. Essential tools for this craft include a cutting machine, design software, transfer tape, a weeding tool, and a variety of colored vinyl sheets. By mastering the techniques of layer alignment, cutting, weeding, and transferring, crafters can produce intricate and durable multi-layered vinyl decals.
Step-by-Step Guide to Designing Multi-Layered Vinyl Decals
Creating multi-layered vinyl decals is an intricate process that requires precision, patience, and a flair for design. These decals are not only visually striking but also offer a depth and texture that single-layer decals cannot match. Whether you’re looking to add a personal touch to your belongings or starting a small business, mastering the art of designing multi-layered vinyl decals can be both rewarding and profitable.
The first step in creating a multi-layered vinyl decal is to conceptualize your design. Begin by sketching out your idea, keeping in mind the limitations and possibilities of vinyl as a medium. Consider the colors you will use and how they will overlay to create your desired effect. It’s important to remember that each color in your design will represent a separate layer of vinyl, so simplicity can sometimes be key to a clean, effective design.
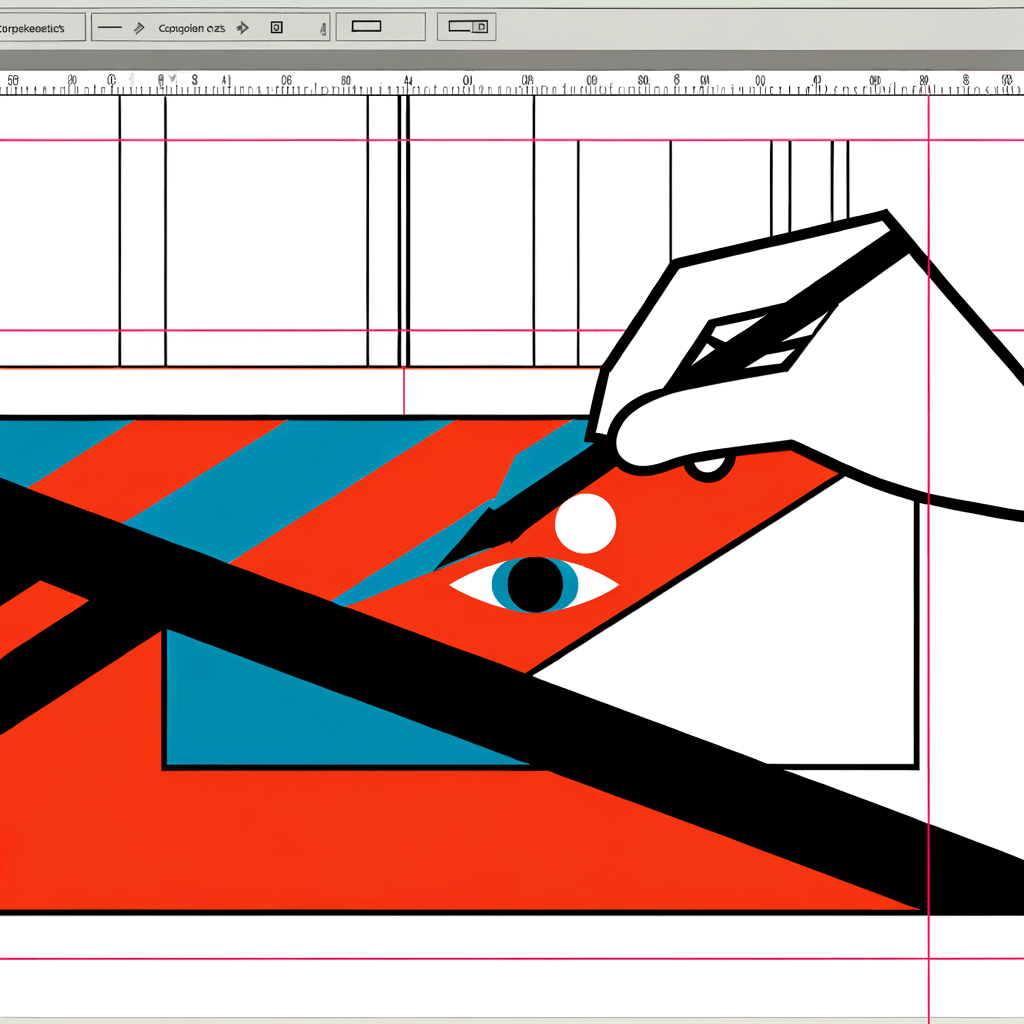
Once your design is finalized, the next phase is to digitize it. This is typically done using vector graphic software such as Adobe Illustrator or CorelDRAW. Vector graphics are ideal for vinyl cutting because they can be scaled without losing quality, ensuring your design remains crisp and clear at any size. Carefully trace your sketch or use the software’s drawing tools to recreate your design digitally. Assign different colors to each layer of your design to keep them distinct and organized.
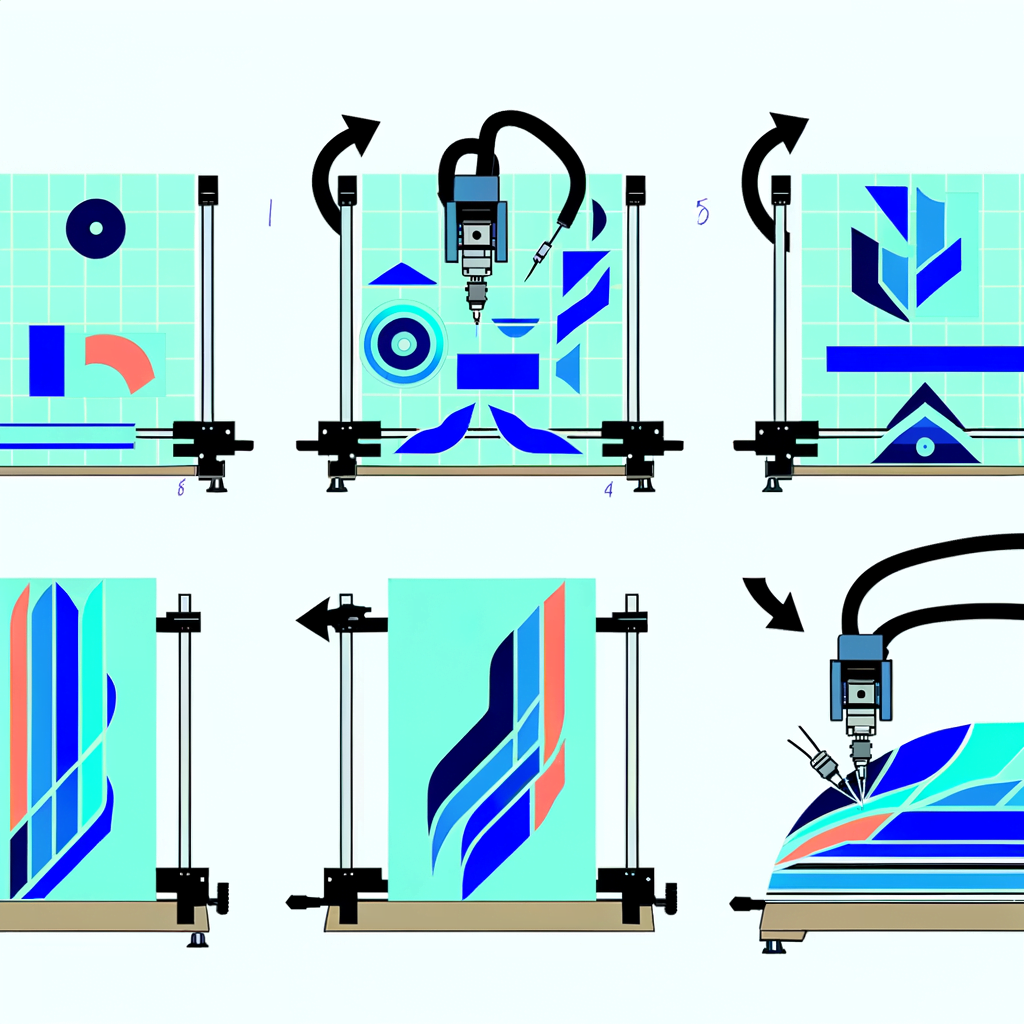
After digitizing your design, it’s time to prepare your vinyl. Select high-quality vinyl sheets in the colors you need. Ensure that each sheet is clean and free from defects. Any imperfections can affect the final product, so it’s crucial to start with flawless materials. Load the vinyl into your cutting machine, such as a Cricut or Silhouette, and use the corresponding software to send your design to the cutter. It’s essential to adjust the blade depth and pressure according to the thickness of your vinyl to achieve precise cuts.
With your vinyl cut, the weeding process begins. This involves removing the excess vinyl from around and inside your design elements, leaving only the parts that will make up your decal. Weeding requires a steady hand and a keen eye, as intricate designs can have very small pieces that need to be retained. Use weeding tools to assist you in this delicate task.
Now, you’re ready to layer your vinyl. Start with the base layer, which will typically be the largest piece of your design. Apply transfer tape to the top of the base layer, smoothing out any bubbles or wrinkles. Then, carefully align the next layer on top of the base layer, using the transfer tape to pick it up and place it accurately. This step may take several attempts to perfect, as it’s crucial that each layer lines up exactly with the one beneath it. Continue this process with each subsequent layer until your design is complete.
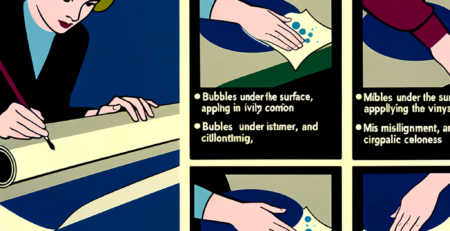
Finally, apply your multi-layered vinyl decal to the desired surface. Clean the surface thoroughly before application to ensure the decal adheres properly. Peel the backing off the decal, position it carefully, and use a squeegee or credit card to smooth it onto the surface, working from the center outwards to eliminate any air bubbles.
In conclusion, creating multi-layered vinyl decals is a meticulous process that can yield stunning results. From the initial design concept to the final application, each step must be performed with attention to detail and a commitment to quality. With practice and creativity, you can produce decals that are not only visually appealing but also professionally crafted, adding a unique and personal touch to any item.
Tips for Cutting and Applying Multi-Layered Vinyl Decals
Creating multi-layered vinyl decals can be an intricate process that requires precision and patience. These decals are a popular choice for customizing a variety of surfaces, from car windows to laptops, because they allow for complex designs with multiple colors and details. To achieve a professional-looking result, it is essential to follow a series of steps carefully and use the right techniques for both cutting and applying the vinyl.
The first step in creating a multi-layered vinyl decal is to design your graphic. This can be done using vector graphic software, which allows for clean lines and precise editing. When designing, keep in mind that each color in your decal will be cut from a different piece of vinyl, so your design should be organized in a way that makes layering straightforward. Once your design is complete, you’ll need to separate it by color layers and ensure that each layer has registration marks. These marks are crucial as they will guide you in aligning the layers accurately during the application process.
After preparing your design, the next step is to select the right type of vinyl. There are various types of vinyl available, including permanent, removable, and specialty vinyl like glitter or holographic. Your choice will depend on the intended use and longevity of the decal. Once you have your vinyl, use a cutting machine to cut out each layer of the design. It is important to test your cut settings before proceeding with the final cut to ensure that the blade cuts through the vinyl but not the backing paper.
Weeding is the process that follows cutting, where excess vinyl is removed from around and inside your design. This step requires a steady hand and a weeding tool to lift and peel away the unwanted vinyl. Take your time with this process, as rushing can lead to mistakes that might ruin your design.
Now comes the challenging part: layering and applying the decal. Begin by applying transfer tape to the top layer of your design. The transfer tape is a clear, sticky material that will allow you to move your vinyl from the backing paper onto your desired surface. Use a squeegee or a credit card to burnish the tape onto the vinyl to ensure it adheres well. Then, carefully peel back the transfer tape, making sure the vinyl comes with it.
To layer your decal, align the registration marks of your top layer with the corresponding layer beneath it. Once aligned, press the layers together, starting from the center and moving outward to avoid air bubbles. Repeat this process with each layer until your design is fully assembled.
Before applying the decal to your chosen surface, ensure that the surface is clean and dry. Position the decal, then use the squeegee to apply pressure and adhere the vinyl to the surface. Start from the center and work your way out to the edges to eliminate any air bubbles. Finally, slowly peel away the transfer tape at a 45-degree angle, making sure the vinyl stays in place.
In conclusion, creating multi-layered vinyl decals is a meticulous process that can yield stunning results when done correctly. By carefully designing your graphic, selecting the appropriate vinyl, and executing precise cutting, weeding, and layering techniques, you can produce custom decals that add a personal touch to any item. Remember to take your time and pay attention to detail at each step, and with practice, you will master the art of making multi-layered vinyl decals.
Advanced Techniques for Multi-Layered Vinyl Decal Creation
Creating multi-layered vinyl decals is an intricate process that requires precision, patience, and a keen eye for detail. These decals are not only visually striking but also offer a depth and texture that single-layer decals cannot match. Whether you’re a hobbyist looking to personalize your belongings or a professional aiming to produce high-quality products for your clients, mastering the art of multi-layered vinyl decal creation is a valuable skill.
The first step in creating multi-layered vinyl decals is to design your decal. This involves using graphic design software to create a digital image that will be the blueprint for your decal. It is essential to consider the layering aspect during this phase, as each color or element of your design will need to be cut from a different vinyl sheet. To ensure a seamless final product, it is crucial to create clear outlines and to consider how the layers will overlap.
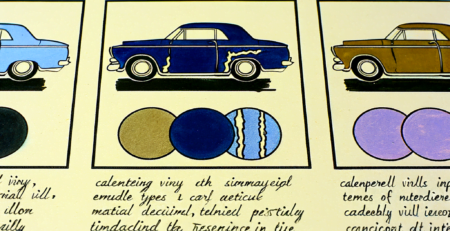
Once your design is ready, the next phase is to select the appropriate vinyl material. There are various types of vinyl available, each with its own set of properties and suitability for different applications. For instance, calendared vinyl is suitable for flat surfaces and short-term applications, while cast vinyl is more flexible and durable, making it ideal for curved surfaces and long-term use. The choice of vinyl will significantly impact the ease of application and the longevity of the decal.
After selecting the vinyl, the cutting process begins. Using a vinyl cutter, each layer of the design is precisely cut out. It is imperative to calibrate your cutter correctly to ensure that the cuts are clean and accurate. Any errors in this step can lead to misalignment of layers or a poor-quality finish. Therefore, it is advisable to perform test cuts on scrap vinyl to fine-tune the cutter settings before proceeding with the actual material.
Weeding is the next critical step. This involves removing the excess vinyl from around and inside your design, leaving only the parts that will make up the decal. Weeding tools, such as tweezers or a weeding pick, are essential for this task, especially for intricate designs with small details. A steady hand and a good eye are necessary to avoid damaging the cut pieces.
Once all the layers are cut and weeded, the transfer process begins. Transfer tape is applied over the top layer of the vinyl decal to lift it from its backing. Care must be taken to avoid air bubbles and to ensure that all parts of the design adhere to the tape. Then, the first layer is carefully positioned and applied to the desired surface. Subsequent layers are aligned on top of the base layer, using the design as a guide. This step requires precision, as misalignment can ruin the entire decal.
Finally, after all layers have been applied, it is important to go over the decal with a squeegee or a similar tool to ensure that it is firmly attached to the surface and that any air bubbles are removed. This not only secures the decal but also gives it a professional finish.
In conclusion, creating multi-layered vinyl decals is a complex process that demands attention to detail at every stage. From designing to cutting, weeding, and transferring, each step must be executed with care to produce a high-quality decal. With practice and patience, anyone can master these advanced techniques and create stunning, multi-dimensional vinyl decals that stand out.
Conclusion
Conclusion:
Creating multi-layered vinyl decals involves a process of designing the graphic, cutting each color layer separately using a vinyl cutter, weeding out the excess material, and then carefully layering and aligning each piece to form the final image. The use of transfer tape is essential for maintaining the alignment during the application. Attention to detail and precision is crucial for a professional-looking result. The final product is a visually striking decal with depth and complexity that can be applied to various surfaces.

Leave a Reply