Getting Perfect Vinyl Transfers With a Heat Press
Table of Contents
“Press with Precision: Achieve Flawless Vinyl Transfers Every Time”
Introduction
Achieving perfect vinyl transfers with a heat press is a process that involves precision, attention to detail, and an understanding of the materials involved. Heat press vinyl transfers are a popular method for applying designs to various substrates, including t-shirts, bags, hats, and more. This technique uses heat and pressure to transfer a vinyl cutout onto a surface, resulting in a durable and professional-looking application. The key to perfect transfers lies in the proper selection of vinyl, the accurate cutting of the design, the correct settings on the heat press, and the careful placement and pressing of the vinyl onto the substrate. By mastering these elements, individuals and businesses can produce high-quality, long-lasting designs that stand out in the marketplace.
Essential Tips for Achieving Perfect Vinyl Transfers with a Heat Press
Getting Perfect Vinyl Transfers With a Heat Press
Vinyl transfers have become a staple in the world of custom apparel and accessories, offering a durable and versatile method for personalizing a wide range of items. However, achieving perfection in vinyl transfers is an art that requires precision, patience, and a keen understanding of the process. A heat press is an indispensable tool in this craft, and mastering its use is essential for those looking to produce professional-quality results.
The first step in ensuring a perfect vinyl transfer is selecting the right type of vinyl for your project. There are various types of heat transfer vinyl (HTV) available, each suited for different materials and applications. For instance, standard HTV is ideal for cotton and polyester fabrics, while stretchable vinyl is designed for more elastic materials. It is crucial to choose a vinyl that not only adheres well to your chosen substrate but also withstands the conditions in which the final product will be used.
Once you have selected the appropriate vinyl, preparing your design is the next critical phase. When creating your design, it is important to remember that it will be cut in reverse before being placed onto the material. This is especially pertinent for text or images that must face a specific direction. Utilizing cutting machines with precision blades will ensure that even the most intricate designs are cut cleanly and accurately, which is vital for a flawless transfer.
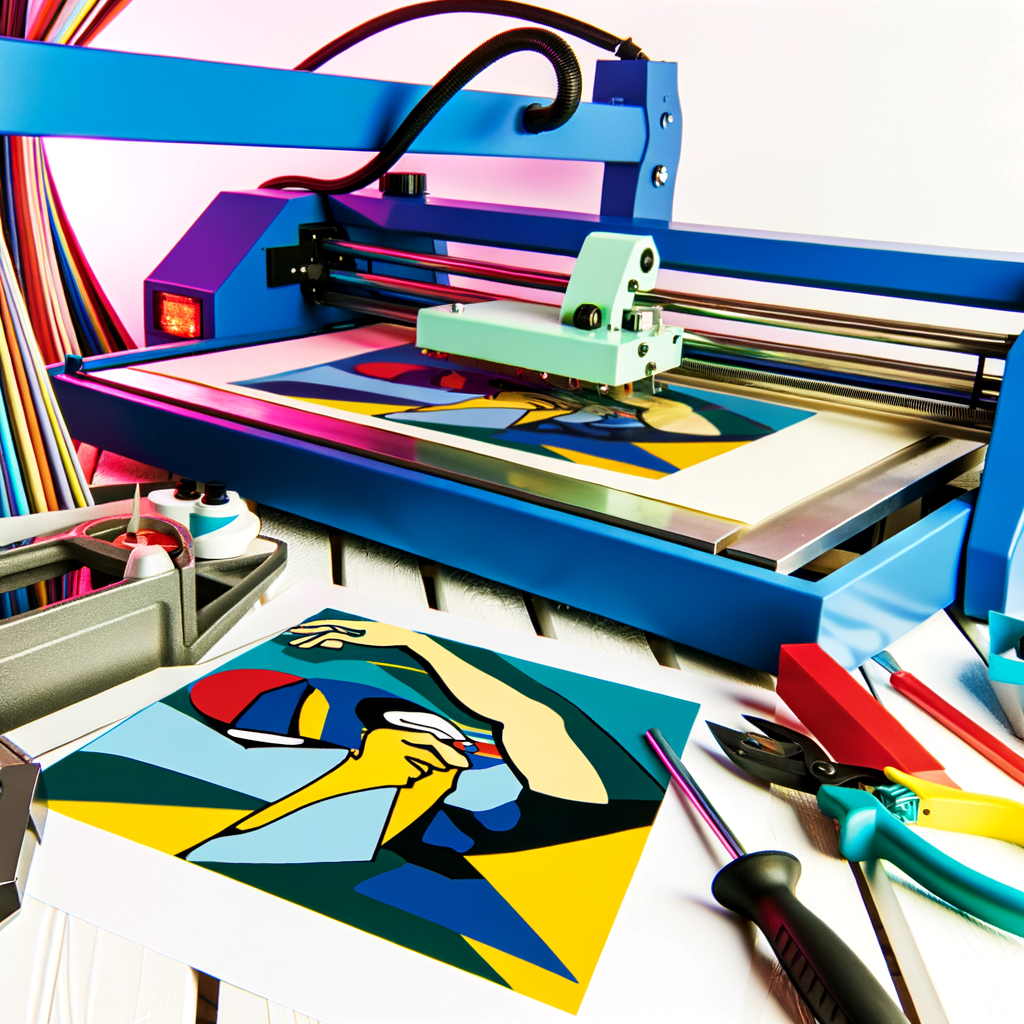
Preparing the heat press is just as important as preparing the design. The press should be set to the correct temperature, pressure, and time settings as recommended by the vinyl manufacturer. These parameters can vary significantly depending on the type of vinyl and the material you are transferring to. A consistent and even heat distribution across the platen is essential to avoid cold spots that can lead to incomplete transfers.
Before committing to the final press, it is advisable to conduct a pre-press on the material. This step removes any moisture and wrinkles, providing a smooth and even surface for the vinyl to adhere to. Skipping this step can result in a transfer that is not only aesthetically displeasing but also prone to peeling and cracking over time.
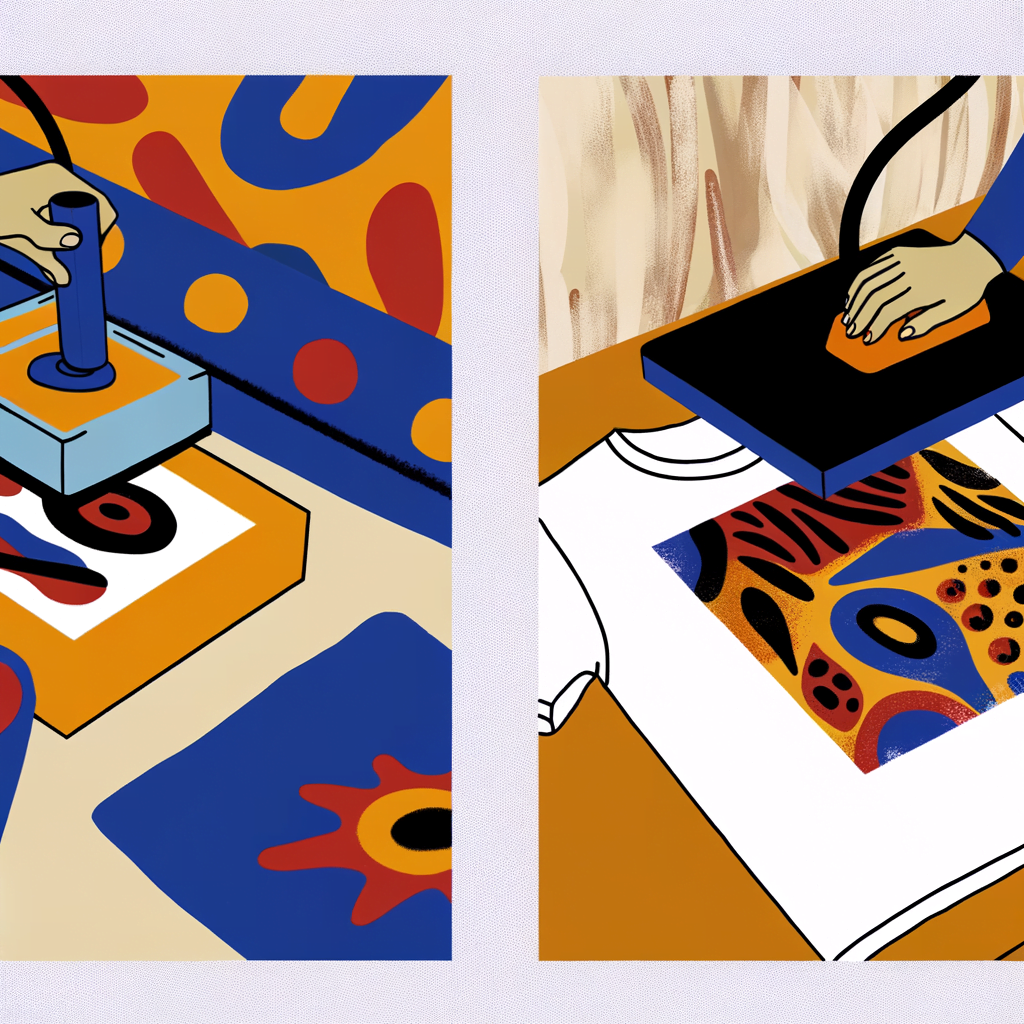
The placement of the vinyl on the substrate is a step where precision is non-negotiable. The design should be positioned carefully to ensure it is straight and centered, or aligned according to your specific project requirements. Using a Teflon sheet or parchment paper over the vinyl can protect both the material and the design from the direct heat of the press, which can sometimes cause scorching or a glossy finish.
After the heat press cycle is complete, it is important to follow the manufacturer’s instructions regarding peeling the carrier sheet. Some vinyl types require a hot peel, while others necessitate a cold peel. Rushing this step or peeling at the wrong temperature can distort the design or lead to an incomplete transfer.
Finally, aftercare is an aspect that should not be overlooked. Properly cured vinyl transfers can withstand washing and wearing well, but they do require specific care. Instructing customers or end-users on how to launder and care for their custom items will ensure the longevity of the transfer and satisfaction with the final product.
In conclusion, achieving perfect vinyl transfers with a heat press is a meticulous process that demands attention to detail at every stage. From selecting the right vinyl and preparing the design to setting up the heat press and executing the transfer, each step plays a pivotal role in the outcome. By adhering to these essential tips and maintaining a commitment to quality, one can master the art of vinyl transfers and produce items that are as durable as they are impressive.
The Ultimate Guide to Temperature and Time Settings for Vinyl Heat Press Success

Getting Perfect Vinyl Transfers With a Heat Press
Achieving the perfect vinyl transfer with a heat press is an art that requires precision, patience, and a deep understanding of temperature and time settings. The process, while seemingly straightforward, involves a delicate balance that can make or break the quality of the final product. This ultimate guide aims to demystify the intricacies of temperature and time settings to ensure your vinyl heat press endeavors are met with success.
The cornerstone of a successful vinyl transfer lies in the accurate application of heat and pressure for the correct duration. Different types of vinyl, fabrics, and heat press machines all play a role in determining the optimal settings. It is crucial to recognize that there is no one-size-fits-all approach; each variable must be carefully considered to achieve a flawless finish.
To begin with, the type of vinyl you are using is a significant factor. Heat transfer vinyl (HTV) comes in a variety of styles, including standard, glitter, flock, and metallic, each with its own heat and time requirements. For instance, standard HTV typically requires a temperature range of 305°F to 320°F, whereas glitter and metallic vinyls may need a slightly higher temperature to adhere properly. It is imperative to consult the manufacturer’s guidelines for the specific vinyl you are working with to determine the precise temperature setting.
Moreover, the fabric onto which you are transferring the vinyl also dictates the necessary heat settings. A cotton garment can withstand higher temperatures compared to a polyester blend, which is more susceptible to scorching or melting under excessive heat. As a rule of thumb, it is advisable to start with a lower temperature when working with heat-sensitive materials and gradually increase as needed, always being cautious not to exceed the fabric’s heat tolerance.
Equally important to temperature is the duration for which the vinyl is pressed. Timing is critical; too short, and the vinyl may not adhere properly, too long, and you risk burning the vinyl or the garment. Typically, a time range of 10 to 15 seconds is sufficient for most HTV applications. However, thicker vinyls like flock or those with textured finishes may require a longer press time to ensure all edges are firmly bonded to the fabric.
The heat press machine itself is another variable to consider. Calibration is essential to ensure that the temperature displayed is the actual temperature on the platen. An uneven heat distribution can lead to patchy transfers, with some areas not sticking and others potentially overheating. Regularly checking your machine with a heat press test kit can help maintain accuracy and prevent transfer failures.
In addition to temperature and time, pressure is the third pillar of a successful vinyl transfer. The pressure should be evenly distributed and adjusted according to the thickness of the material being pressed. Most heat press machines have a pressure adjustment knob, and it is advisable to refer to the machine’s manual to set the correct pressure level for your specific project.
In conclusion, mastering the perfect vinyl transfer with a heat press is a nuanced process that hinges on the precise calibration of temperature, time, and pressure. By paying close attention to the type of vinyl, the fabric’s heat sensitivity, and the specifications of your heat press machine, you can ensure that each transfer is executed with excellence. Remember, patience and practice are your allies in this endeavor, and with each press, you move closer to achieving vinyl heat press perfection.
Avoiding Common Mistakes in Vinyl Heat Transfer Applications
Getting Perfect Vinyl Transfers With a Heat Press
The art of vinyl heat transfer is a meticulous process that, when done correctly, can yield stunning and durable designs on a variety of textiles. However, achieving perfection requires an understanding of the common pitfalls and how to avoid them. This article will guide you through the essential steps to ensure your vinyl transfers are flawless every time.
One of the most critical factors in vinyl heat transfer is the quality of the vinyl itself. Selecting a high-grade, heat transfer vinyl (HTV) is paramount, as inferior materials can lead to cracking, peeling, and fading after only a few washes. It is equally important to choose the right type of vinyl for the fabric you are working with. For instance, stretchy vinyl is better suited for elastic fabrics, while a more rigid vinyl may be appropriate for sturdier textiles.
Preparation of the material is the next step in the process. Before applying the vinyl, the fabric must be pre-washed without fabric softeners to remove any residues that might prevent the vinyl from adhering properly. Once cleaned, the fabric should be ironed or pre-pressed to eliminate any wrinkles or moisture that could interfere with the transfer.
The cutting phase is where precision is key. Ensure that your cutting machine’s settings are adjusted according to the type and thickness of the vinyl being used. A test cut is highly recommended to confirm that the blade depth and pressure are correct. This helps in avoiding incomplete cuts that make weeding (the process of removing excess vinyl) difficult or, conversely, cuts that are too deep and penetrate the carrier sheet.
Weeding must be done with care, as it is easy to accidentally remove small parts of the design or leave bits of vinyl that will end up being transferred onto the fabric. A weeding tool can be invaluable for this task, allowing for more control and precision.
When it comes to the actual heat press, temperature, pressure, and time are the trifecta of success. Each type of HTV has its own recommended settings, so it is crucial to follow the manufacturer’s instructions. Using a heat press that allows for precise control over these variables is advisable. A common mistake is to use too much pressure or too high a temperature, which can cause the vinyl to stretch or warp, while insufficient heat can lead to the vinyl not adhering properly.
The pressing process also involves a crucial step known as “tacking.” This is a quick press, usually for a few seconds, to fix the vinyl in place before applying the full press duration. Tacking prevents the vinyl from shifting and ensures that the entire design is evenly adhered.
After pressing, whether to peel the carrier sheet hot or cold is another consideration that depends on the type of vinyl. Some HTVs require a hot peel, while others must cool down completely before removal. Peeling at the wrong time can result in lifting the vinyl from the fabric.
Finally, a post-press reapplication of heat is often recommended to secure the vinyl’s bond to the fabric. This step is performed with a cover sheet to protect the design and should be done with the same attention to temperature and pressure as the initial application.
In conclusion, perfect vinyl transfers are achievable by paying close attention to the quality of materials, preparation of the fabric, precise cutting and weeding, and careful control of the heat press settings. By avoiding these common mistakes, you can ensure that your vinyl heat transfer applications are successful, resulting in professional-looking, long-lasting designs.
Conclusion
Conclusion:
Achieving perfect vinyl transfers with a heat press requires attention to detail and adherence to best practices. Key factors include selecting the right type of vinyl, preparing the substrate properly, setting the heat press to the correct temperature, pressure, and time, and ensuring the design is accurately cut and weeded. Proper alignment and placement of the vinyl on the substrate are crucial to avoid misalignment or air bubbles. Using a Teflon sheet or protective cover can help prevent scorching or sticking. After pressing, it’s important to allow the transfer to cool if necessary before peeling off the carrier sheet, following the vinyl manufacturer’s instructions for hot or cold peel. Regular maintenance of the heat press and staying updated with the latest techniques and materials will contribute to consistently perfect vinyl transfers.


Leave a Reply