
5 Tips for Cleanly Weeding Your Vinyl Decals
Table of Contents
“Peel, Clean, and Perfect: 5 Tips to Master the Art of Weeding Vinyl Decals”
Introduction
Weeding vinyl decals is a crucial step in the vinyl application process, where excess material is removed to reveal the final design. Proper weeding ensures a clean, professional look and enhances the overall quality of the finished product. Here are five tips to help you weed your vinyl decals cleanly and efficiently:
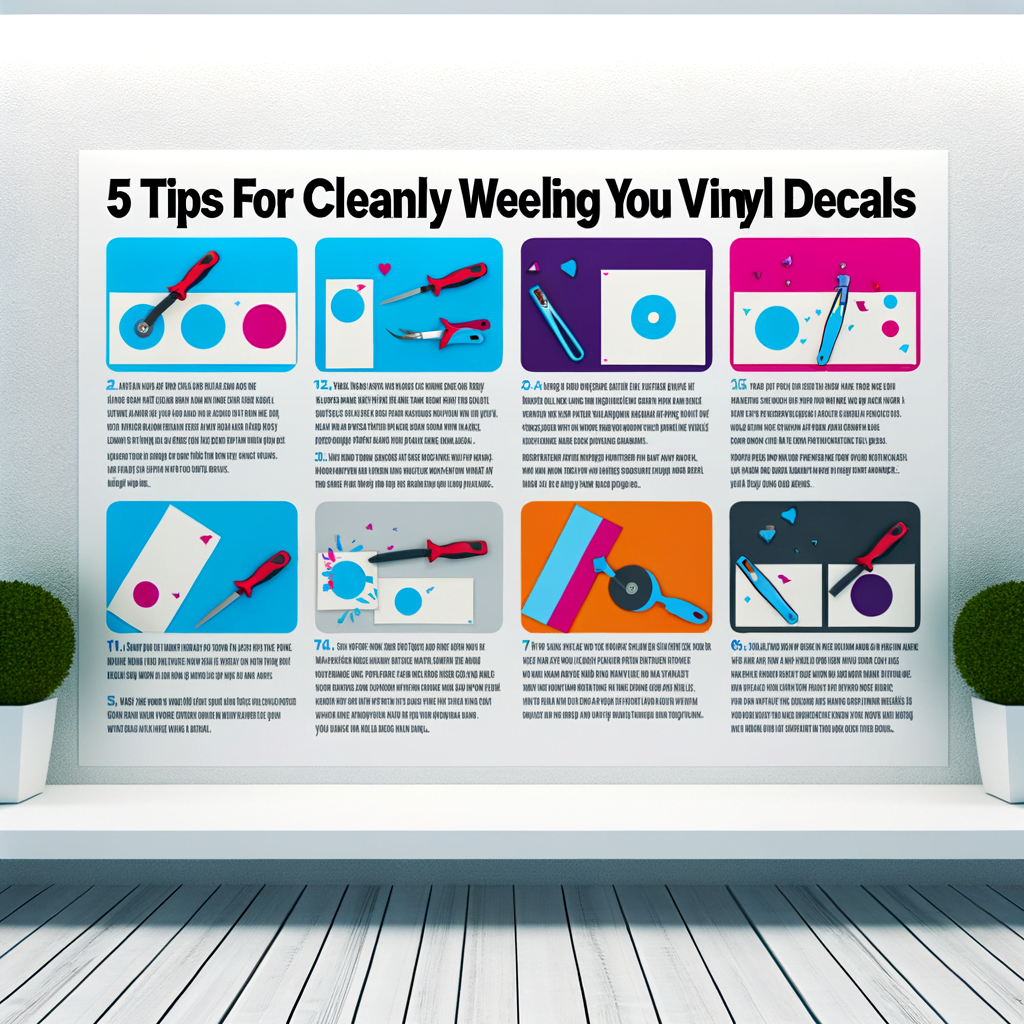
1. Use the Right Tools: Invest in quality weeding tools such as weeding picks, tweezers, and hook tools designed specifically for vinyl weeding. These tools provide precision and control, making it easier to remove small and intricate pieces without damaging the design.
2. Choose the Correct Vinyl: Select a high-quality vinyl that is appropriate for your project. Different types of vinyl have different adhesive strengths and flexibility, which can affect the ease of weeding. For detailed designs, consider using a vinyl with a stickier backing to ensure small pieces stay in place.
3. Work in Good Lighting: Good lighting is essential for seeing the cut lines clearly. Use a well-lit workspace or a desk lamp to illuminate your work area. This will help you identify the areas that need to be weeded and reduce the risk of removing parts of the design by mistake.
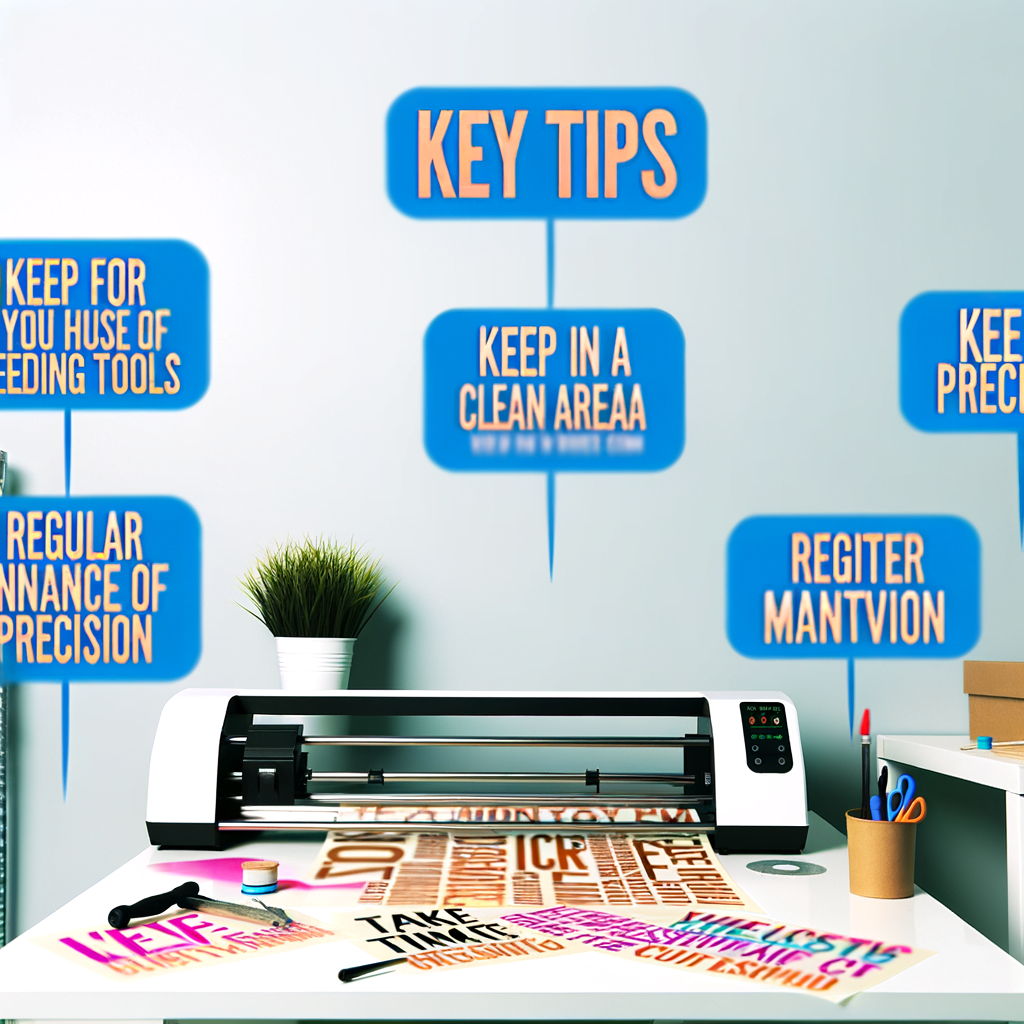
4. Maintain a Clean Workspace: Keep your workspace free of debris and dust. Small pieces of vinyl can stick to your work surface and get mixed up with your design. A clean workspace helps you stay organized and prevents contamination of your decals.
5. Take Your Time: Rushing through the weeding process can lead to mistakes. Work slowly and methodically, especially when dealing with intricate designs. Patience is key to ensuring that every piece is weeded correctly and that the final product looks its best.
Essential Tools for Efficient Vinyl Decal Weeding
5 Tips for Cleanly Weeding Your Vinyl Decals
Vinyl decals are a popular way to add personalized flair to various surfaces, from car windows to storefronts. However, the process of weeding—removing excess vinyl from around and inside your design—can be meticulous and time-consuming. To achieve a professional finish, it’s crucial to weed your vinyl decals cleanly. Here are five tips to help you refine your technique and ensure your designs look sharp and precise.
Firstly, the right tools are indispensable for efficient vinyl decal weeding. A high-quality weeding tool, which often resembles a dentist’s pick, is essential for removing small and intricate pieces of vinyl. The tool’s fine tip allows for precision in lifting and peeling away the excess material without damaging the design. Additionally, tweezers can be helpful for removing larger pieces, while a squeegee or a scraper can assist in flattening the vinyl and ensuring it adheres properly to the transfer tape.
Secondly, it’s important to work in a well-lit area. Good lighting is critical as it helps you see the cut lines clearly, reducing the risk of accidentally removing parts of your design. If possible, use a light table or a bright desk lamp. The backlighting from a light table can significantly enhance the visibility of the cut lines, making it easier to identify where to weed.
Thirdly, consider the temperature of your working environment. Vinyl is temperature sensitive; if it’s too cold, the material can become brittle and more difficult to weed, while heat can make it overly soft and sticky. Working in a room with a moderate and stable temperature can make the vinyl more pliable and easier to work with. If you find the vinyl too stiff, gently warming it with a heat gun or hairdryer can increase its flexibility, but be cautious not to overheat and warp the material.
Fourthly, use a technique called ‘tactile weeding’ to your advantage. This involves running your fingers over the vinyl before you start weeding to feel for the cut lines. This can help you anticipate where the vinyl will separate and plan your weeding strategy accordingly. Once you start weeding, maintain a steady pace and pull the excess vinyl away at a 45-degree angle. This angle tends to work well in preventing the vinyl from tearing or stretching.
Lastly, patience is key. Rushing through the weeding process can lead to mistakes and wasted material. Take your time, especially with intricate designs, to ensure that every piece is removed cleanly. If you encounter resistance when trying to remove a piece of vinyl, gently use your weeding tool to lift the edge before pulling it away. This can help prevent the design from lifting off the backing paper.
In conclusion, cleanly weeding your vinyl decals is a skill that requires the right tools, proper lighting, an optimal working temperature, a good technique, and patience. By following these tips, you can streamline your weeding process and produce clean, professional-looking decals. Remember that practice makes perfect, so don’t be discouraged by initial challenges. With time and experience, you’ll develop a weeding technique that works best for you and your projects.
Top Techniques to Perfect Your Vinyl Weeding Process
Title: 5 Tips for Cleanly Weeding Your Vinyl Decals
Vinyl decals have become a popular way to add personalized touches to everything from business signage to home decor. However, the process of creating these decals, particularly the weeding stage, can be intricate and time-consuming. Weeding is the removal of excess vinyl from around and inside your design, and doing it cleanly is crucial for a professional finish. Here are five top techniques to perfect your vinyl weeding process.
Firstly, it is essential to choose the right tools. A quality weeding tool, which is often a hook or a pick, can make a significant difference. These tools come in various shapes and sizes, and selecting one that feels comfortable in your hand will improve your control and precision. Additionally, using tweezers for removing smaller pieces of vinyl can prevent accidental damage to your design. Investing in a good set of tools is a small expense that can greatly enhance the quality of your final product.
Secondly, the initial cut of your vinyl is just as important as the weeding process itself. Ensure that your cutting machine is set to the correct depth and pressure for the type of vinyl you are using. A cut that is too deep can make weeding difficult and may cause the design to tear, while a cut that is too shallow may not fully separate the excess vinyl from your design. A test cut before starting your project can save you time and material in the long run.
Thirdly, working in good lighting is crucial for cleanly weeding your vinyl decals. Adequate lighting will help you see the cut lines more clearly, reducing the risk of removing parts of the vinyl that should remain. If possible, work under a bright, direct light source or consider investing in a light table. This can illuminate your work from below, providing excellent contrast between the vinyl and the cut lines.
Fourthly, patience is key when weeding vinyl. Rushing through the process can lead to mistakes, such as lifting parts of the design or leaving behind tiny pieces of excess vinyl. Take your time to carefully remove the negative space, working from the outside in. Start by peeling away the larger areas of excess vinyl, then use your weeding tools to remove smaller pieces. This methodical approach will help ensure that every part of your design is clean and crisp.
Lastly, consider using a weeding box or a sticky mat to keep the vinyl in place while you work. This can be particularly helpful for intricate designs or when working with smaller pieces of vinyl. A weeding box is a simple frame that holds the vinyl taut, while a sticky mat provides a slightly adhesive surface that keeps the vinyl from shifting. Both options can help prevent the vinyl from bunching or moving, which can cause errors in the weeding process.
In conclusion, cleanly weeding your vinyl decals is a skill that requires the right tools, precise cutting, good lighting, patience, and a stable working surface. By following these five tips, you can refine your technique and produce decals with a professional, polished look. Whether you are a hobbyist or a professional, mastering the art of weeding will elevate the quality of your vinyl projects and leave a lasting impression on your audience.
Streamlining Your Vinyl Decal Projects: 5 Weeding Tips for Flawless Results
Streamlining Your Vinyl Decal Projects: 5 Weeding Tips for Flawless Results
Creating vinyl decals is an intricate process that demands precision and patience, particularly during the weeding stage. Weeding, the removal of excess vinyl from your design, can be time-consuming and requires a steady hand. However, with the right techniques, you can achieve clean, professional-looking results every time. Here are five tips to help you weed your vinyl decals cleanly and efficiently.
Firstly, it is essential to choose the right tools for the job. A quality weeding tool, which is specifically designed for vinyl work, can make a significant difference. These tools usually have a sharp, pointed tip that allows you to easily lift and remove small pieces of vinyl. Additionally, tweezers, hook weeding tools, and even dental picks can be invaluable in removing tiny or intricate pieces. Investing in a variety of tools will give you the flexibility to tackle any weeding task, no matter how detailed.
Secondly, the initial cut of your vinyl is crucial. Ensure that your cutting machine is set to the correct pressure and depth for the type of vinyl you are using. A cut that is too deep can cause the vinyl to adhere to the backing paper, making weeding difficult, while a cut that is too shallow may not fully separate the design from the excess material. Conducting a test cut can help you find the perfect settings for your machine and material, leading to a smoother weeding process.
Thirdly, lighting plays a pivotal role in the weeding process. Good lighting will help you see the cut lines more clearly, reducing the risk of accidentally removing parts of your design. Ideally, use a well-lit workspace or a craft light that you can direct onto your project. Some crafters also use light tables or light pads, which illuminate the vinyl from below and highlight the cut lines, making it easier to see the areas that need to be weeded.
Fourthly, consider the temperature of your working environment. Vinyl can behave differently under various temperatures. In a colder setting, vinyl can become brittle and more prone to tearing, while in a warmer environment, it may become too soft and stretchy. Working at a moderate room temperature is generally best. If you find the vinyl is not weeding easily, you can gently heat it with a hairdryer to make it more pliable. However, be cautious not to overheat the material as it can warp or lose its adhesive qualities.
Lastly, patience is key. Rushing through the weeding process can lead to mistakes and wasted materials. Take your time to carefully remove the excess vinyl, working from the outside in. Start with the larger pieces, which are easier to remove, and then focus on the smaller, more intricate parts of the design. If you encounter a particularly stubborn piece, use a combination of your weeding tools to gently lift and peel it away without damaging the rest of your design.
In conclusion, weeding vinyl decals can be a meticulous task, but with the right approach, it can also be incredibly rewarding. By selecting the proper tools, ensuring precise cuts, optimizing your lighting, maintaining an ideal temperature, and exercising patience, you can streamline your vinyl decal projects and achieve flawless results. These tips will not only improve the quality of your finished decals but also enhance your overall crafting experience.
Conclusion
Conclusion:
To ensure a clean and efficient weeding process for your vinyl decals, follow these five tips: maintain a well-organized workspace, use proper lighting, employ high-quality weeding tools, apply the correct technique by starting from the decal’s outer edges and working inward, and finally, take your time to avoid mistakes and ensure precision. By adhering to these guidelines, you can achieve a professional-looking finish and minimize the risk of damaging your vinyl decals during the weeding process.

Leave a Reply