
Risoluzione dei problemi relativi agli errori comuni di ricamo
Sommario
“Stitch with Confidence: Mastering the Art of Embroidery Correction”
introduzione
Troubleshooting common embroidery mistakes is an essential skill for anyone involved in the craft of embroidery. Whether you are a beginner or an experienced embroiderer, encountering issues such as thread breaks, puckering, skipped stitches, or design misalignment is inevitable. Understanding how to identify and rectify these errors can save time, reduce frustration, and help maintain the quality and integrity of the finished product. By learning the common causes of these mistakes and the appropriate solutions, embroiderers can ensure their projects are completed to the highest standard.
Identifying and Fixing Thread Tension Issues in Embroidery
Troubleshooting Common Embroidery Mistakes: Identifying and Fixing Thread Tension Issues in Embroidery
Embroidery is an art form that requires precision and attention to detail. One of the most common issues that can arise during the embroidery process is related to thread tension. Incorrect thread tension can lead to a multitude of problems, such as thread breakage, uneven stitching, and fabric puckering, which can compromise the quality of the finished product. Understanding how to identify and fix thread tension issues is essential for any embroiderer looking to produce high-quality work.
The first step in troubleshooting thread tension problems is to recognize the signs of improper tension. When the tension is too tight, the thread may break frequently or pull the fabric, causing it to pucker. Conversely, if the tension is too loose, the stitches may appear sloppy and lack definition, with loops of thread visible on the surface of the fabric. Additionally, the bobbin thread may be pulled to the top of the embroidery, creating an unsightly appearance.
Once you have identified that thread tension is the culprit, the next step is to determine whether the issue lies with the top thread or the bobbin thread. A simple test is to examine the underside of the embroidery. If the top thread is visible on the bottom, the top tension is likely too loose. If the bobbin thread is being pulled to the top, the top tension may be too tight, or the bobbin tension needs adjustment.
To rectify tension issues, begin by adjusting the top thread tension. Most embroidery machines have a dial or a digital setting that allows you to increase or decrease the tension. It is advisable to make small adjustments and then test the results on a scrap piece of fabric that is similar to your project material. Continue tweaking the tension until the stitches look balanced and even on both sides of the fabric.
If adjusting the top thread tension does not resolve the problem, it may be necessary to examine the bobbin tension. Bobbin tension is typically set at the factory and should not need frequent adjustment. However, if you suspect that the bobbin tension is off, you can perform a simple drop test. Hold the bobbin case with the thread in it and let it dangle. A slight jerk should cause the bobbin case to drop a little. If it does not move, the tension is too tight. If it drops too quickly, the tension is too loose. Adjust the bobbin tension screw slightly and repeat the test until the tension is correct.
In addition to tension adjustments, ensure that you are using the right type of thread and needle for your fabric and design. Mismatched thread and needle sizes can contribute to tension issues. Also, regular maintenance of your embroidery machine, such as cleaning and oiling, can prevent tension problems from occurring in the first place.
Finally, it is important to remember that achieving perfect thread tension may require patience and practice. Each embroidery project is unique, and factors such as fabric type, stabilizer choice, and design complexity can all influence thread tension. By paying close attention to the signs of tension issues and methodically adjusting your machine settings, you can overcome these common embroidery mistakes and ensure that your finished work reflects the skill and care you have invested in it.
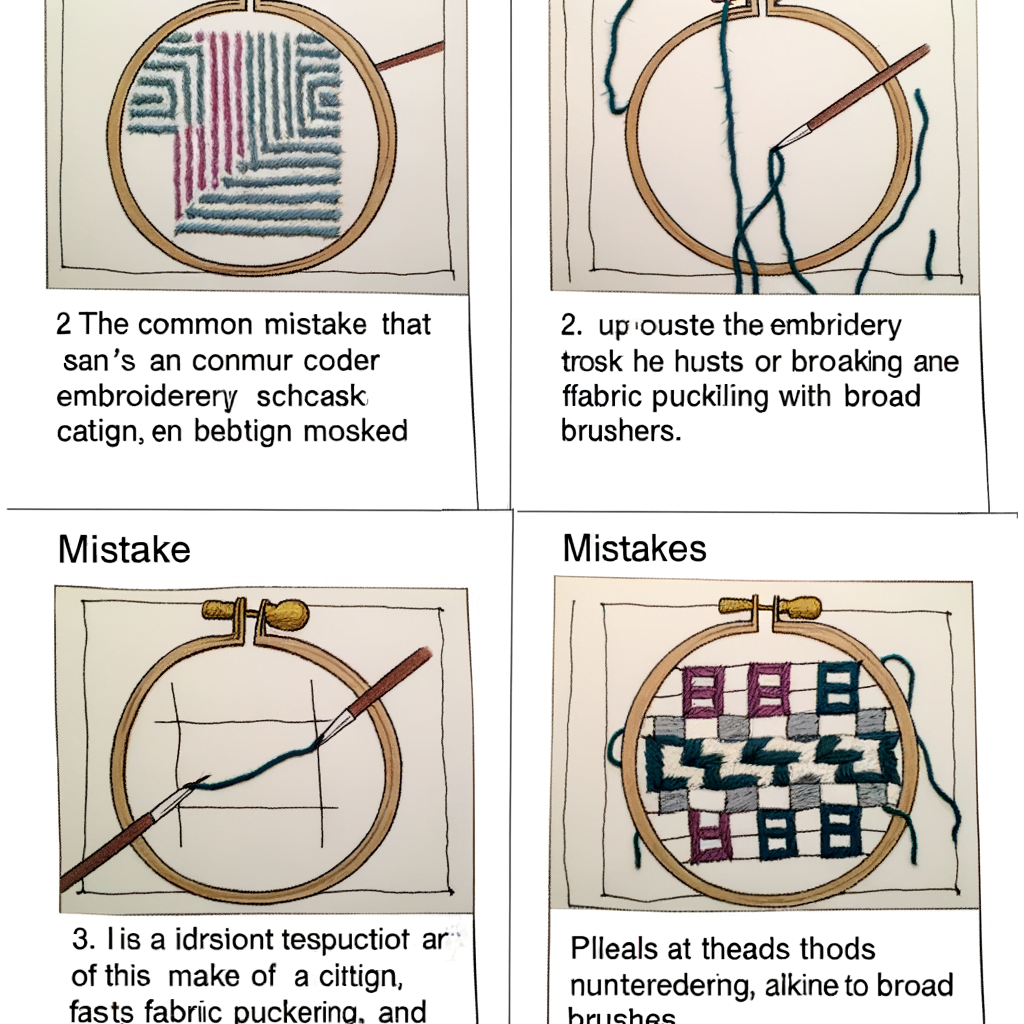
Solutions for Preventing and Correcting Fabric Puckering
Title: Troubleshooting Common Embroidery Mistakes
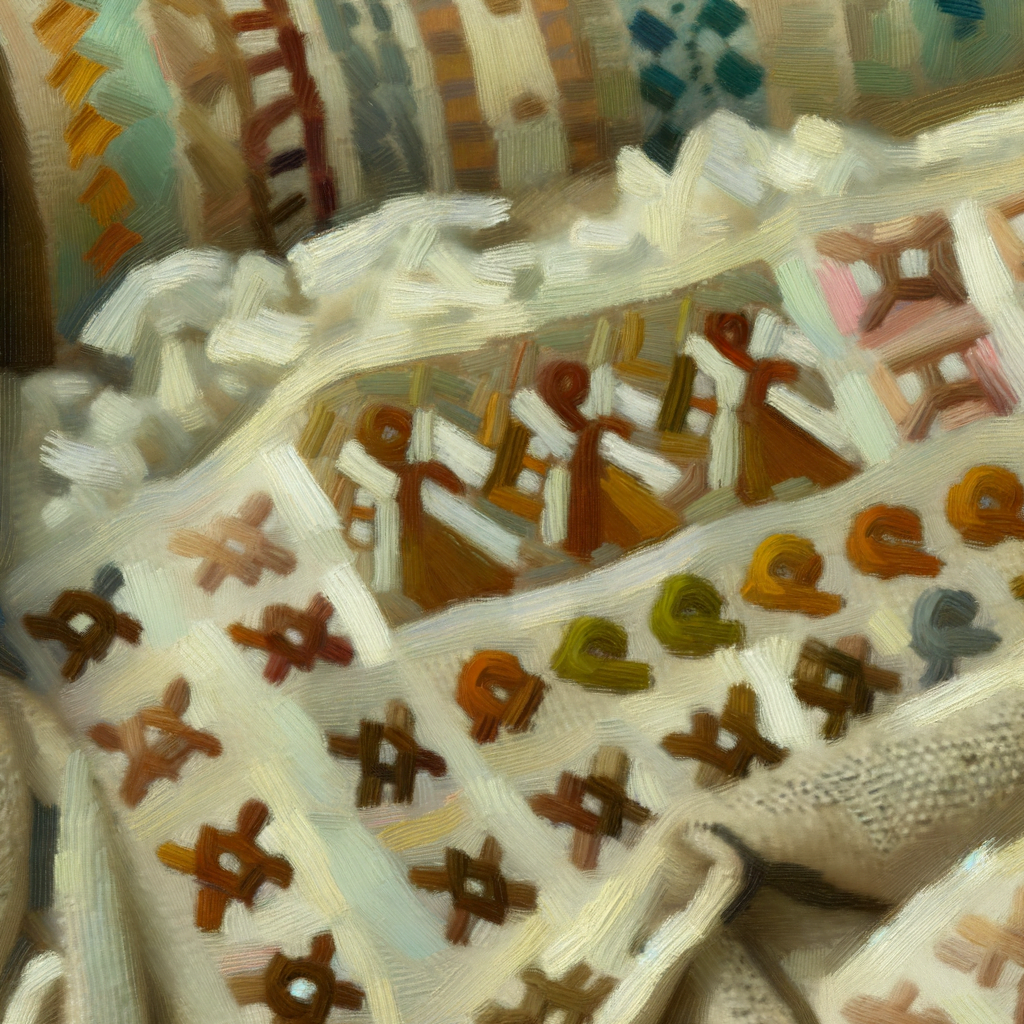
Embroidery, with its intricate designs and colorful threads, can transform ordinary fabric into a work of art. However, even the most skilled embroiderers can encounter the frustrating issue of fabric puckering. This common problem can detract from the beauty of the finished piece, but with the right knowledge and techniques, it can be both prevented and corrected.
Fabric puckering occurs when the fabric gathers or wrinkles around the embroidered design, causing an uneven and unprofessional appearance. The root of this issue often lies in the stabilization of the fabric. Proper stabilization provides a firm foundation for the embroidery, ensuring that the fabric remains smooth and taut during the stitching process. To prevent puckering, it is essential to select the appropriate stabilizer for the fabric type and weight. For instance, a lightweight stabilizer may be suitable for delicate fabrics, while a heavier one may be necessary for denser materials.
Another key factor in preventing puckering is the hooping technique. The fabric and stabilizer must be hooped together tightly, without any slack, but also without stretching the fabric out of its natural state. A hoop that is too loose will allow the fabric to move during embroidery, leading to puckering, while overstretching can distort the fabric and result in a puckered appearance once the hoop is removed. It is a delicate balance that requires practice and attention to detail.
Thread tension is also a critical element in the prevention of puckering. Incorrect tension settings can pull the fabric excessively or allow the thread to loop on the surface, both of which can cause puckering. It is important to adjust the tension settings on the embroidery machine according to the thread type and fabric being used. A tension that is too tight can pull the fabric inward, while too loose a tension can leave slack in the thread, leading to loops and potential puckering.
In addition to these preventative measures, the choice of embroidery design can influence the likelihood of puckering. Designs that are too dense or have large areas of fill stitching can exert too much force on the fabric, causing it to bunch up. To avoid this, opt for designs that are appropriate for the fabric’s weight and structure. Lighter designs with less fill work better on lightweight or stretchy fabrics, while heavier fabrics can support more complex and dense designs.
When puckering has already occurred, there are several corrective measures that can be taken. Gently steaming the embroidered area can sometimes relax the fabric and reduce the appearance of puckers. However, care must be taken not to apply too much heat or moisture, as this can damage the embroidery. If steaming does not resolve the issue, it may be necessary to remove the embroidery and start over, applying the lessons learned to prevent puckering in the new attempt.
In conclusion, fabric puckering is a common challenge in embroidery, but it is not insurmountable. By choosing the right stabilizer, mastering the hooping technique, adjusting thread tension, and selecting suitable designs, embroiderers can greatly reduce the risk of puckering. And when puckering does occur, a combination of patience and skill can help correct the issue, ensuring that the final product meets the high standards of quality and beauty that embroidery enthusiasts strive for. With these solutions in hand, both novice and experienced embroiderers can confidently tackle their projects, knowing they have the tools to overcome one of the most common embroidery mistakes.
How to Resolve Machine Embroidery Stabilizer Problems
Title: Troubleshooting Common Embroidery Mistakes
Embroidery is an art form that requires precision and attention to detail. However, even the most skilled embroiderers can encounter issues, particularly when it comes to machine embroidery stabilizers. Stabilizers play a crucial role in providing the necessary support to fabric during the embroidery process, ensuring that designs are neat and free from puckering or distortion. When stabilizer problems arise, they can lead to a host of issues that compromise the quality of the finished product. Fortunately, with a few troubleshooting tips, these common stabilizer problems can be resolved effectively.
One of the primary stabilizer issues that embroiderers face is choosing the wrong type of stabilizer for the fabric or design. Different fabrics and designs require specific stabilizers to achieve optimal results. For instance, a heavy denim fabric would typically need a sturdy cut-away stabilizer, while a delicate organza might require a lightweight water-soluble stabilizer. To resolve this issue, it is essential to match the stabilizer to the fabric’s weight and stretch as well as the density of the embroidery design. A good rule of thumb is to use a heavier stabilizer for dense, heavy designs and a lighter one for more delicate fabrics and simpler designs.
Another common problem is not using enough stabilizer. This can lead to fabric shifting and gapping during the embroidery process, resulting in a distorted final product. To prevent this, ensure that the stabilizer extends beyond the hoop’s edges, providing ample support for the entire area being embroidered. It’s also advisable to use multiple layers of stabilizer for particularly heavy or dense designs, as this can help maintain the fabric’s stability throughout the embroidery process.
Conversely, using too much stabilizer can also be problematic. Excessive stabilizer can make the embroidery feel stiff and can be difficult to remove, especially if using a tear-away or cut-away type. To address this, use the minimum amount of stabilizer necessary to support the design without compromising the drape and feel of the fabric. If using a tear-away stabilizer, gently tear away the excess close to the stitching, being careful not to pull or distort the stitches.
Improper hooping can also lead to stabilizer issues. If the fabric and stabilizer are not hooped tautly, the material may shift during embroidery, causing misalignment and puckering. Ensure that the hoop is tight like a drum, with both fabric and stabilizer smooth and without wrinkles. This will help maintain consistent tension throughout the embroidery process.
Lastly, the choice of stabilizer can affect the ease of finishing the embroidery piece. For example, water-soluble stabilizers are excellent for freestanding lace or when no stabilizer residue is desired, but they require careful handling and complete removal after embroidery. Heat-away stabilizers are another option for delicate fabrics that cannot withstand tearing, but they require a heat source for removal. Selecting the appropriate stabilizer for both the embroidery process and the finishing requirements is crucial for a clean, professional result.
In conclusion, resolving machine embroidery stabilizer problems is a matter of understanding the relationship between the fabric, design, and stabilizer. By carefully selecting the appropriate stabilizer type, using the correct amount, ensuring proper hooping, and considering the finishing process, embroiderers can overcome these common issues. With these troubleshooting strategies in hand, the path to flawless embroidery is well within reach, allowing for the creation of beautiful, high-quality designs that stand the test of time.
Conclusione
Conclusione:
In troubleshooting common embroidery mistakes, it is essential to systematically approach the problem by identifying the error, understanding its root cause, and applying the appropriate solution. Common issues include thread tension problems, incorrect needle or stabilizer choice, design digitization errors, and machine maintenance issues. Addressing these mistakes promptly can prevent further errors and ensure high-quality embroidery results. Regular practice, proper machine upkeep, and a thorough understanding of materials and techniques are crucial for minimizing embroidery mistakes and achieving professional outcomes.
Lascia un commento