
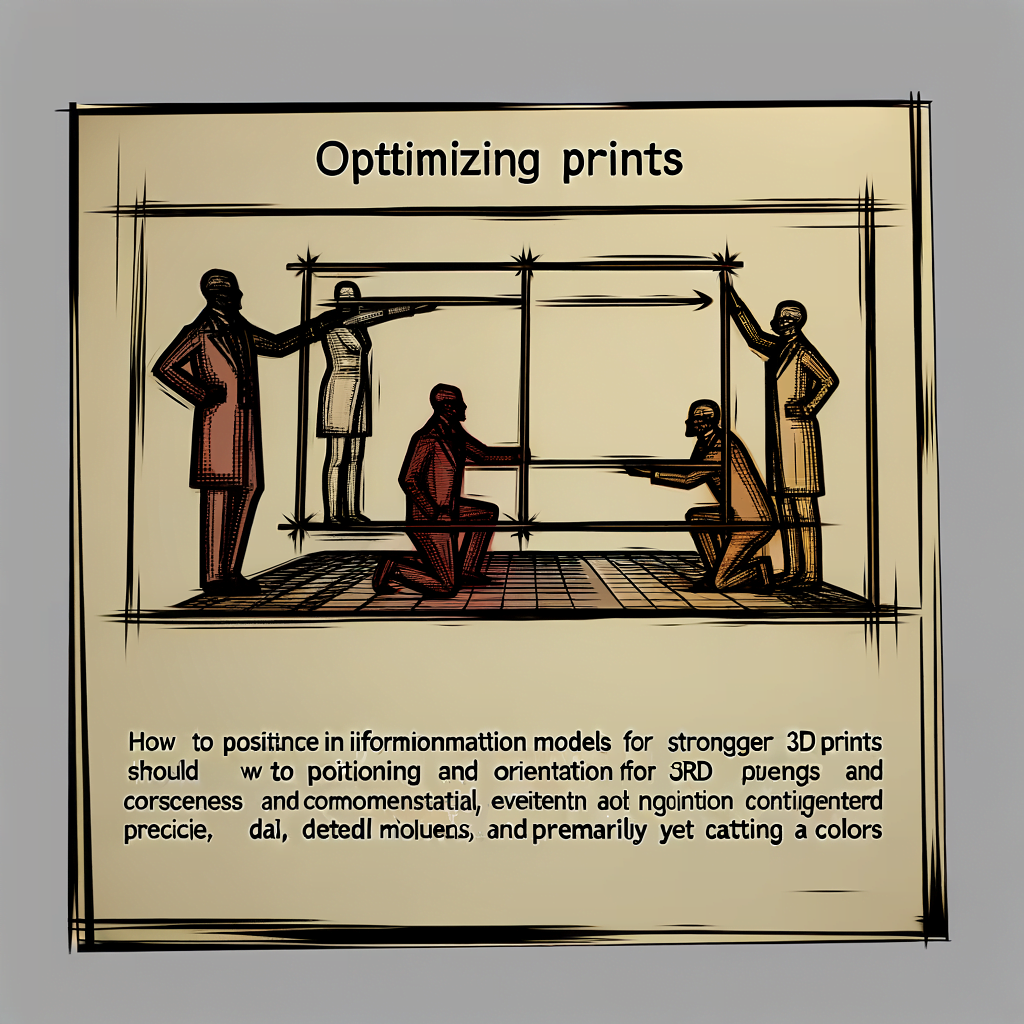
Optimizing Prints – How to Position and Orient Models for Stronger 3D Prints
Sommario
“Maximize Durability, Minimize Waste: Mastering Model Positioning for Superior 3D Printing”
introduzione
Optimizing the position and orientation of models for 3D printing is a critical step in the manufacturing process that can significantly affect the strength, appearance, and functionality of the final printed object. Proper positioning and orientation help to minimize the amount of support material needed, reduce printing time, and improve the overall structural integrity of the print. By understanding the forces that will be applied to the object in its end-use and the properties of the chosen printing material, one can make informed decisions on how to place the model within the print volume to achieve the best results. This involves considering factors such as the layer adhesion, print speed, resolution, and potential warping or shrinkage. Mastering these techniques is essential for anyone looking to produce high-quality, durable 3D prints.
Maximizing Durability: Strategies for Positioning 3D Models
Optimizing Prints – How to Position and Orient Models for Stronger 3D Prints
In the realm of 3D printing, the quest for durability is paramount. The strength of a printed object is not solely dependent on the material used; it is also significantly influenced by the way the model is positioned and oriented on the print bed. Mastering the art of model placement can mean the difference between a print that stands the test of time and one that succumbs to the slightest stress.
The orientation of a model during printing is critical because it directly affects the number of supports needed, the type of surface finish, and most importantly, the strength of the final product. When a model is sliced into layers for printing, the orientation determines the direction of the layer lines. These lines are potential points of weakness, as the bonds between layers are not as strong as the material within a layer. Therefore, positioning the model so that the layer lines correspond with the expected stress points can enhance the structural integrity of the print.
For instance, consider a simple cylindrical object such as a cup handle. If printed vertically, the layer lines run parallel to the direction of force when the cup is lifted, which could lead to delamination and failure. Conversely, printing the handle horizontally with the layer lines perpendicular to the force results in a much stronger print, as the stress is distributed across multiple layers.
Moreover, the use of supports is a necessary evil in 3D printing. While they allow for the creation of complex geometries, they can also introduce weaknesses and imperfections where they are removed. Strategic orientation minimizes the need for supports, reducing the risk of these imperfections and saving on material and time. For example, angling an overhanging feature might eliminate the need for supports altogether, resulting in a cleaner and stronger print.
Another consideration is the print bed adhesion. The larger the contact area between the model and the print bed, the better the adhesion. This reduces the likelihood of warping or detachment during printing, which can compromise the print’s strength. However, a larger footprint on the print bed can also mean a longer print time and more material usage. Thus, finding a balance between sufficient bed adhesion and efficient material use is key.
In addition to these considerations, the choice of infill pattern and density plays a significant role in the final strength of the print. Infill is the internal structure of a 3D printed object, and different patterns can affect strength in different directions. A honeycomb pattern, for example, offers strength in multiple directions, while a rectilinear pattern might provide more rigidity along the X and Y axes. The density of the infill also impacts strength; a higher density means a stronger print but also increases material consumption and print time.
Ultimately, optimizing the position and orientation of models for 3D printing is a balancing act. It requires a deep understanding of the model’s geometry, the intended use of the printed object, and the capabilities of the printer itself. By carefully considering these factors, one can produce prints that not only look good but are also built to last. As 3D printing technology continues to evolve, so too will the techniques for maximizing the durability of printed objects, leading to an ever-expanding realm of possibilities for creators and engineers alike.
Strength Optimization: Best Practices for Orienting 3D Prints
Optimizing Prints – How to Position and Orient Models for Stronger 3D Prints
In the realm of 3D printing, the orientation of a model is a critical factor that can significantly influence the strength and durability of the final print. The process of positioning and orienting models for 3D printing, often referred to as slicing, requires careful consideration to ensure that the printed object can withstand the intended use and stresses. This article delves into the best practices for orienting 3D prints to optimize their strength, providing insights into the techniques that can be employed to achieve the desired outcomes.
The orientation of a model on the print bed affects how the layers are deposited, which in turn impacts the print’s structural integrity. When a force is applied to a 3D printed object, it is most likely to fail at the layer lines, where the material is bonded together during the printing process. Consequently, understanding the direction of the expected stress is paramount when determining the optimal orientation for a print.
For instance, vertical orientation is often preferred for objects that require strength along their vertical axis. This is because the layers are stacked on top of each other, and the load is distributed across the entire cross-section of the print, rather than concentrating at the layer lines. However, this approach may not be suitable for all designs, as it can lead to a taller print with a smaller base, which may be less stable during the printing process and could require additional support structures.
Conversely, horizontal orientation can be advantageous for objects that will experience stress in a horizontal direction. In this case, the layer lines run parallel to the stress, providing a continuous path for the distribution of force and reducing the likelihood of delamination or layer separation. However, this orientation can increase the print time and may require more material due to the need for support structures for overhanging parts.
Another critical aspect to consider is the use of support structures. While they are essential for printing complex geometries, they can also introduce weak points into the print. Therefore, it is crucial to minimize the use of supports by orienting the model in a way that reduces overhangs. This not only strengthens the print but also results in a better surface finish and reduces post-processing work.
In addition to orientation, the infill pattern and density play a significant role in the strength of a 3D print. A higher infill percentage will generally result in a stronger object, but it will also increase the material usage and print time. Choosing the right infill pattern is equally important; for example, a honeycomb pattern is known for its strength and is often used in applications where the print must bear significant loads.
To further enhance the strength of a 3D print, one can also adjust the print settings such as layer height and wall thickness. A smaller layer height can lead to stronger layer adhesion, while a thicker wall provides more material to resist external forces.
In conclusion, the orientation of a 3D model is a fundamental aspect of print preparation that directly influences the strength and durability of the final product. By carefully considering the direction of expected stress, minimizing the need for support structures, and selecting appropriate infill patterns and print settings, one can optimize the structural integrity of 3D printed objects. These best practices are essential for anyone looking to produce robust and reliable prints, whether for functional prototypes, end-use products, or artistic creations. Through meticulous planning and strategic orientation, the potential of 3D printing technology can be fully realized, leading to stronger and more resilient printed objects.
Advanced Techniques for Structurally Sound 3D Printing Layouts
Optimizing Prints – How to Position and Orient Models for Stronger 3D Prints
In the realm of 3D printing, the quest for structurally sound and durable prints is a paramount concern for hobbyists and professionals alike. The strength of a 3D printed object is not solely dependent on the material used; it is also significantly influenced by the positioning and orientation of the model during the printing process. Understanding the intricacies of these factors can lead to the production of prints that are not only aesthetically pleasing but also robust and functional.
The orientation of a model in the printing layout is a critical factor that affects the final strength of the print. When a model is sliced into layers for printing, the orientation determines the direction of the layers and, consequently, the axes along which the print will be strongest. Typically, the Z-axis, which is the direction of layer stacking, is the weakest due to the nature of the layer-by-layer construction. Therefore, orienting the model in such a way that the anticipated stress points align with the X or Y axes can enhance the structural integrity of the print.
Moreover, the orientation of the model can influence the amount of support material required. Support structures are often necessary when printing overhangs or complex geometries, but they can introduce weaknesses at the points where they attach to the model. By strategically orienting the model to minimize overhangs, one can reduce the need for support material, thereby decreasing the potential for weak spots and improving the surface finish of the print.
Positioning the model on the print bed is another aspect that demands careful consideration. The first layer is the foundation of the print, and ensuring its proper adhesion to the print bed is crucial for the overall stability and quality of the object. A well-leveled bed and an appropriate surface treatment, such as applying an adhesive or using a heated bed, can prevent warping and ensure a strong base for the subsequent layers.
In addition to bed adhesion, the positioning of the model can affect the distribution of stress throughout the print. Placing the model in the center of the print bed where temperature and print head movements are most consistent can lead to more uniform layer deposition. This uniformity contributes to a balanced distribution of stress, which is beneficial for the mechanical properties of the print.
The layer height and print speed are also pivotal in determining the strength of a 3D print. Lower layer heights can result in a smoother surface and more detail, but they can also lead to longer print times and potentially weaker layer bonds. Conversely, higher layer heights can strengthen the bond between layers but may compromise the print’s resolution. Finding a balance between these settings, based on the intended use of the print, is essential for optimizing structural integrity.
Print speed, while a factor in print time efficiency, must be adjusted carefully. Faster speeds can lead to insufficient layer bonding and decreased print quality, while slower speeds can enhance the strength of the print by allowing more time for each layer to adhere properly to the previous one.
In conclusion, the positioning and orientation of models in 3D printing are not merely a matter of convenience or aesthetics; they are fundamental to the creation of strong, durable prints. By carefully considering the direction of layer deposition, minimizing the need for support structures, ensuring proper bed adhesion, and fine-tuning layer height and print speed, one can significantly improve the structural soundness of 3D printed objects. These advanced techniques for structurally sound 3D printing layouts are essential tools in the arsenal of any individual seeking to master the art and science of 3D printing.
Conclusione
Conclusione:
To optimize 3D prints for strength, careful consideration must be given to the position and orientation of the model before printing. Proper orientation can minimize the number of supports, reduce surface blemishes, and ensure that the layers align with the stress points of the object, enhancing its structural integrity. Positioning the model to maximize the print’s strength involves aligning it in a way that the forces acting upon the object are distributed along the layers rather than against them. This often means orienting the longest dimension of the object along the Z-axis and considering the print’s geometry to avoid overhangs that require excessive support. Additionally, using software simulations to predict stress points and adjusting the print orientation accordingly can lead to stronger and more reliable 3D printed objects. Overall, the key to stronger 3D prints lies in a thoughtful preparation stage where model orientation and positioning are optimized for the specific application and load conditions the print will face.


Lascia un commento