
Realizzare decalcomanie personalizzate con file di taglio SVG gratuiti
Sommario
“Unleash Your Creativity: Custom Decals Made Easy with Free SVG Cut Files”
introduzione
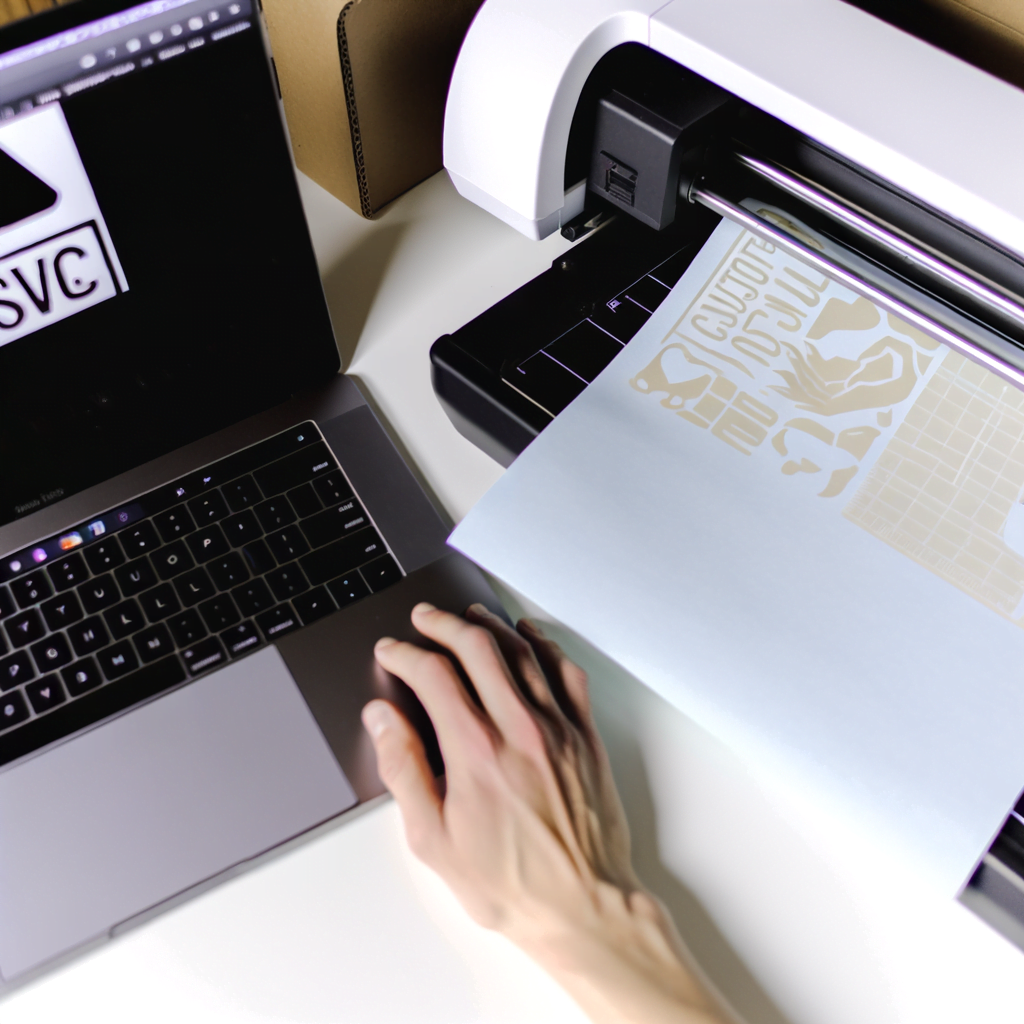
Custom decals are a fantastic way to personalize and decorate various surfaces such as walls, windows, vehicles, and personal items like laptops and water bottles. With the advent of cutting machines like the Cricut and Silhouette, DIY enthusiasts and crafters can now create professional-looking decals at home. Free SVG (Scalable Vector Graphics) cut files are often used in this process as they can be easily resized without losing quality and are compatible with most cutting machines. These files serve as templates that guide the cutting machine to precisely cut the design out of vinyl or other materials. Making custom decals with free SVG cut files is not only cost-effective but also allows for endless creativity and customization, enabling individuals to produce unique and personalized designs.
Top 10 Tips for Designing Your Own Custom Decals Using Free SVG Cut Files
Realizzare decalcomanie personalizzate con file di taglio SVG gratuiti
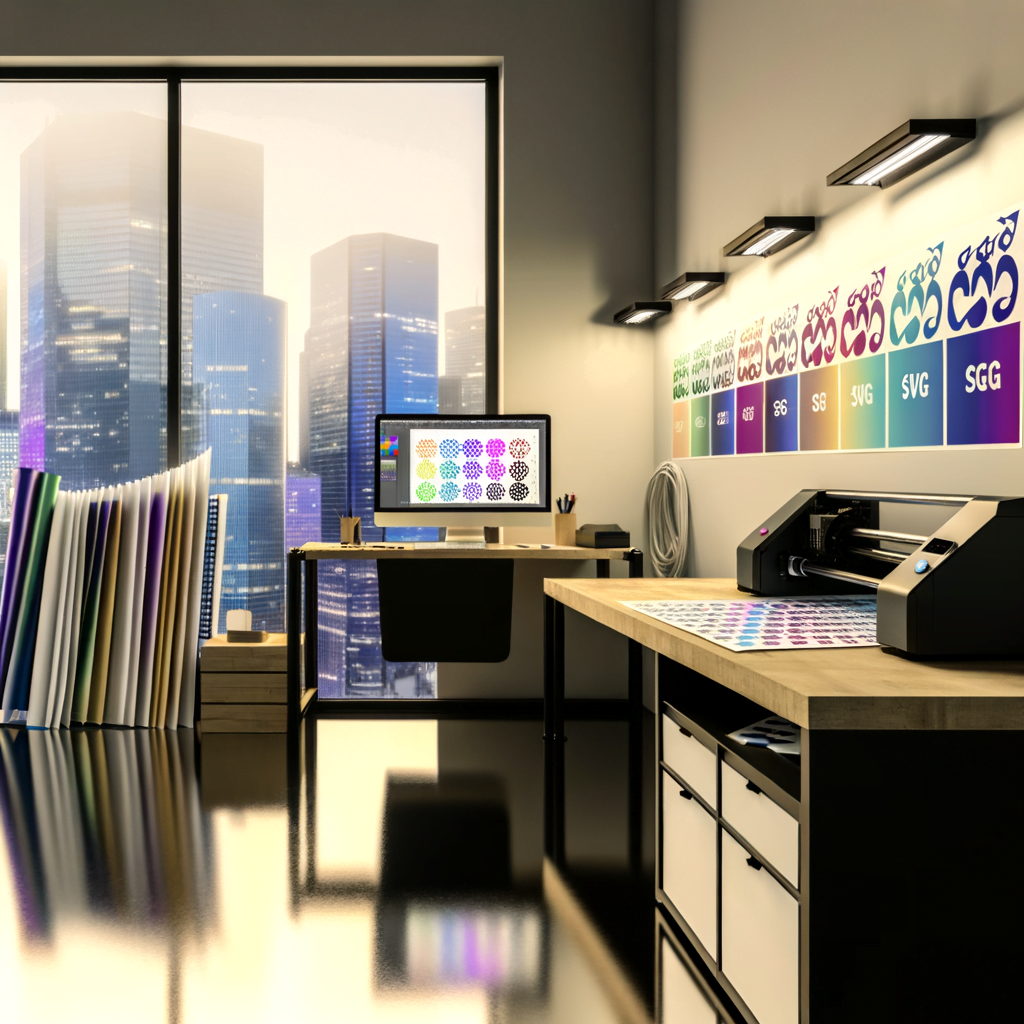
Designing custom decals has become an accessible and creative way to personalize everything from laptops and water bottles to business storefronts. With the advent of free SVG cut files and cutting machines like the Cricut or Silhouette, DIY enthusiasts and small business owners alike can produce professional-looking decals without the need for expensive graphic design services. To ensure success in your decal-making venture, here are the top ten tips for designing your own custom decals using free SVG cut files.
Firstly, it is crucial to select high-quality SVG files. Free doesn’t always equate to inferior, but it’s important to source files from reputable websites or designers. High-quality SVG files ensure clean cuts and ease of use, which is essential for intricate designs. Additionally, verify that the SVG file is compatible with your cutting machine’s software to avoid any technical issues.
Secondly, consider the complexity of the design. While it’s tempting to choose elaborate patterns, remember that more intricate designs require more weeding (the process of removing excess vinyl). Beginners should start with simpler shapes and gradually progress to more complex images as they become more comfortable with the process.
Thirdly, always measure the surface where you intend to apply the decal. This step is critical to ensure that the final product is neither too large nor too small. It’s advisable to leave a slight margin around the design for a cleaner look once applied.
Fourthly, when it comes to color selection, keep in mind the surface color where the decal will be placed. Contrast is key for visibility. If the decal is going on a dark surface, opt for lighter colors, and vice versa. Additionally, consider the color psychology if the decal is for branding purposes, as colors can influence perception.
Fifthly, test cuts are your friend. Before cutting your final design, perform a test cut with a small shape or a piece of the design. This will help you adjust blade depth and pressure settings on your cutting machine, ensuring a perfect cut for your actual project.
Sixthly, organize your workspace and tools before starting. Having your weeding tools, transfer tape, and other supplies within reach streamlines the process and reduces the risk of errors or misplaced items.
Seventhly, patience is paramount during the weeding process. Rushing can lead to tearing delicate parts of the design or removing incorrect sections. Take your time and use appropriate tools to carefully remove the excess vinyl.
Eighthly, use quality transfer tape to move your design from the backing paper to the intended surface. A good transfer tape will make the transition smooth and prevent air bubbles or misalignment.
Ninthly, burnish the decal thoroughly once applied. This means rubbing the transfer tape firmly to ensure that the vinyl adheres well to the surface. Skipping this step can result in decals that peel off prematurely.
Lastly, after applying the decal, remove the transfer tape slowly and at a 45-degree angle. This technique helps prevent the vinyl from lifting and ensures a crisp, clean application.
In conclusion, creating custom decals with free SVG cut files can be a rewarding and enjoyable experience. By following these top ten tips, you can produce high-quality, personalized decals that stand out. Remember to start simple, practice patience, and pay attention to detail, and you’ll soon be on your way to mastering the art of decal design.
How to Convert Free SVG Cut Files into Professional-Looking Decals
Realizzare decalcomanie personalizzate con file di taglio SVG gratuiti
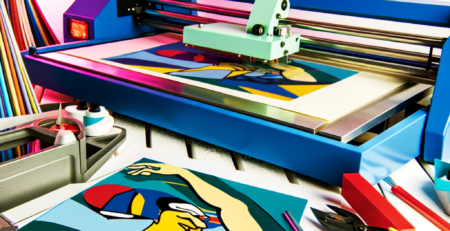
In the realm of personalized crafts and DIY projects, decals stand out as a versatile and creative way to add a unique touch to various items, from mugs and laptops to walls and cars. With the advent of cutting machines like the Cricut and Silhouette, making professional-looking decals at home has become an accessible endeavor for craft enthusiasts. Central to this process is the use of SVG (Scalable Vector Graphics) cut files, which are digital designs that can be scaled to any size without losing quality. These files are particularly well-suited for creating intricate decals, and the best part is that many of them are available for free online. This article will guide you through the steps to convert free SVG cut files into professional-looking decals.
The first step in this creative journey is to source high-quality SVG cut files. Numerous websites offer a plethora of designs catering to various themes and occasions. Once you have selected a design, ensure that it is compatible with your cutting machine’s software. Most cutting machines have their own software that can import SVG files, but it’s important to check the specifications before downloading.
After acquiring your SVG file, the next phase involves importing it into your cutting machine’s software. This process typically involves a simple click-and-drag method or an import function within the software. Once the file is in the software, you can resize it to fit your project’s specifications. It’s crucial to maintain the aspect ratio to prevent any distortion of the design. At this stage, you can also customize the design by adding text, changing colors, or modifying elements to suit your personal taste.
Before sending your design to the cutting machine, you must prepare your vinyl. Select a high-quality adhesive vinyl that is appropriate for the surface you intend to apply the decal to. For instance, if you’re making a car decal, you’ll need a vinyl that can withstand outdoor conditions. Cut the vinyl to size, ensuring it’s slightly larger than your design to avoid any cutting errors.
Now, it’s time to let the cutting machine work its magic. Adhere the vinyl to the cutting mat and load it into the machine. Adjust the blade settings according to the thickness of your vinyl to ensure a clean cut. Once the machine has finished cutting, carefully weed out the excess vinyl, leaving only your design on the backing paper.
The final step in creating your decal is the application. Transfer tape is essential for this process as it allows you to move the decal from the backing paper to the desired surface without any complications. Apply the transfer tape over your design, use a scraper tool to ensure it adheres well, and then peel the backing paper away. Position the decal on your chosen surface, use the scraper again to remove any air bubbles, and then gently peel away the transfer tape.
By following these steps, you can transform free SVG cut files into professional-looking decals that can add a personalized flair to any object or space. The key to success lies in careful preparation, attention to detail, and a bit of creativity. Whether you’re looking to start a small business or simply enjoy crafting as a hobby, mastering the art of making custom decals can be a rewarding and enjoyable experience.
The Ultimate Guide to Applying Custom Decals Made from SVG Cut Files
Realizzare decalcomanie personalizzate con file di taglio SVG gratuiti
The art of personalization has never been more accessible than it is today, thanks to the proliferation of digital design and cutting technology. One of the most popular ways to customize objects is by creating and applying custom decals, which can be made at home with the help of free SVG cut files. These scalable vector graphics are the key to producing precise, detailed, and durable decals for a variety of applications, from personalizing laptops and smartphones to customizing walls and vehicles.
The process begins with selecting the right SVG cut file. The internet is a treasure trove of free designs, ranging from simple shapes and letters to intricate patterns and images. It’s important to choose a design that not only appeals to your aesthetic preferences but also suits the surface you intend to decorate. Once you’ve found the perfect design, the next step is to ensure that you have the necessary tools and materials. A cutting machine, such as a Cricut or Silhouette, is essential for transforming your digital design into a physical decal. Additionally, you’ll need vinyl sheets, transfer tape, a weeding tool, and a scraper or a flat-edged tool.
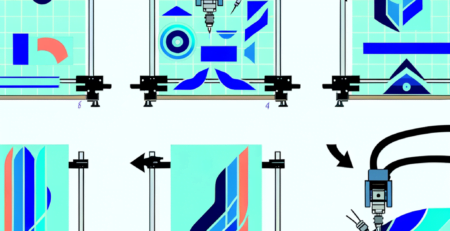
After gathering your supplies, the next phase is to prepare your SVG file for cutting. This involves uploading the design to the cutting machine’s software and adjusting the size to fit your intended surface. Precision is crucial at this stage; an error in sizing can lead to a decal that doesn’t fit or looks disproportionate. Once the design is ready, it’s time to load the vinyl sheet into the cutting machine and let it work its magic. The blade will follow the vector paths of the SVG file, cutting the design into the vinyl with remarkable accuracy.
The freshly cut decal then requires weeding, which is the process of removing excess vinyl from around and inside your design. This step demands a steady hand and a keen eye, as intricate designs can have very small pieces that need to be carefully extracted. After weeding, the decal is almost ready for application. However, before it can be transferred to the desired surface, it must be attached to transfer tape. This tape will hold the decal together and allow you to position it accurately.
Applying the decal is the final step in this creative journey. The surface should be clean and dry to ensure the best adhesion. Carefully peel the backing off the vinyl, leaving the decal on the transfer tape. Position the decal on the surface, and use the scraper to smooth it out, eliminating any air bubbles and ensuring a firm bond. Once the decal is in place, gently peel away the transfer tape, leaving your custom design adhered to the surface.
The beauty of using free SVG cut files for making custom decals lies in the endless possibilities they offer. With a vast array of designs available and the ability to create your own, the only limit is your imagination. Whether you’re looking to add a personal touch to your belongings or create unique gifts for friends and family, mastering the art of decal application will open up a world of creative potential. Remember, patience and practice are key to achieving professional-looking results, so take your time and enjoy the process of bringing your custom decals to life.
Conclusione
Conclusion: Making custom decals with free SVG cut files is a cost-effective and creative way to personalize objects or spaces. Utilizing SVG (Scalable Vector Graphics) files allows for precise and scalable cutting patterns that are perfect for intricate designs. With the availability of free SVG cut files online, individuals can access a wide range of designs without incurring additional costs. The process typically involves using a cutting machine to cut the design onto vinyl or another suitable material, which can then be transferred to the desired surface. This DIY approach offers flexibility and customization for crafters, hobbyists, and small business owners looking to create unique decals for personal use or commercial purposes.

Lascia un commento