

How to Setup and Calibrate a New CNC Router Step-by-Step
Sommario
“Precision at Your Fingertips: Mastering CNC Setup and Calibration in Simple Steps”
introduzione
Setting up and calibrating a new CNC (Computer Numerical Control) router is a critical process that ensures precision and accuracy in your machining projects. Proper setup and calibration not only enhance the quality of your work but also extend the life of the machine and its components. This step-by-step guide will walk you through the essential stages of assembling, configuring, and fine-tuning your new CNC router to achieve optimal performance. From assembling the frame and installing the spindle to configuring the software and performing test cuts, each step is designed to help you get your CNC router up and running with confidence. Whether you are a hobbyist or a professional, following these instructions will lay the foundation for successful CNC machining.
Setting Up Your CNC Router: A Comprehensive Guide
Setting Up Your CNC Router: A Comprehensive Guide
Embarking on the journey of setting up a new CNC router can be an exciting endeavor, whether for a hobbyist looking to explore the realms of precision crafting or for a professional aiming to enhance production capabilities. The process, while intricate, can be navigated with a step-by-step approach that ensures accuracy and efficiency from the outset.
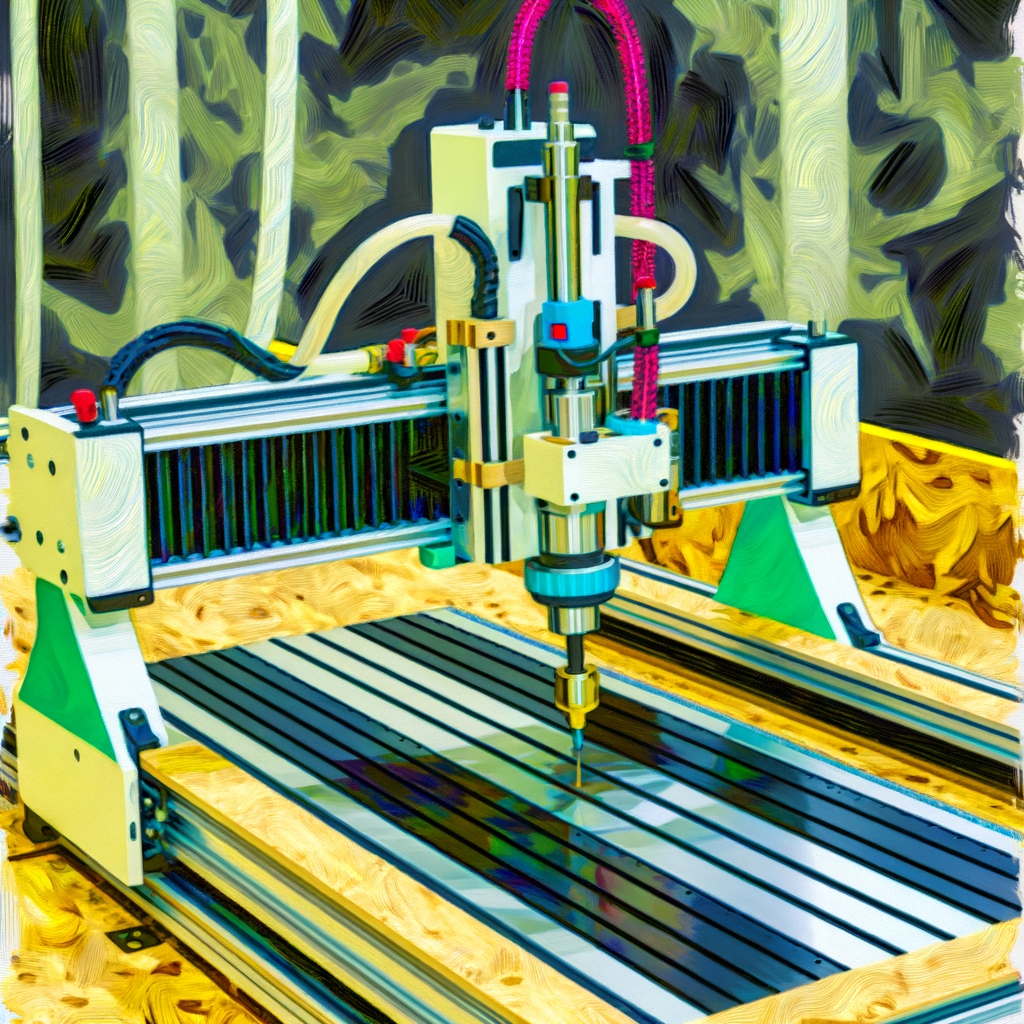
The initial step in setting up your CNC router involves assembling the machine according to the manufacturer’s instructions. This foundational phase is critical, as a properly assembled machine is the cornerstone of its future performance. Carefully unpack all components and use the provided guide to assemble your router, paying close attention to the alignment of parts and the secure fastening of bolts and screws. It is essential to ensure that the frame is level and stable, as any misalignment can lead to inaccuracies in the routing process.
Once the physical assembly is complete, the next phase is the installation of the software that will drive your CNC router. This typically includes a machine control program and a design software package. Install these programs on a compatible computer and connect it to your CNC router, usually via USB or Ethernet. Ensure that the computer meets the software’s system requirements to avoid any performance issues.
After the software installation, it’s time to power up the machine and establish communication between the computer and the CNC router. This involves configuring the control software with the correct settings for your specific machine, such as the dimensions of the work area, the type of motor drivers, and the axis configuration. Consult the user manual for the precise settings recommended by the manufacturer.
Calibration is the next critical step, and it is here that precision takes center stage. Begin by setting the home position for the machine, which is the reference point from which all operations will start. This is typically done by manually moving the router to the desired starting point and setting this position within the control software. Following this, you will need to calibrate the tool length offset, which involves measuring the distance from the tip of the tool to the work surface and inputting this data into the software. This ensures that the router knows exactly where the tool is in relation to the material being worked on.
The final step in calibration is to square the machine. This means ensuring that the axes are perpendicular to each other. If your machine is not squared, the cuts will not be accurate, and your projects may not assemble correctly. Use precision measuring tools such as a machinist square to check the alignment of the axes and make adjustments as necessary.
Once your CNC router is assembled, software installed, and calibration completed, it’s time to perform a test run. Choose a simple design and a piece of scrap material for this initial project. Carefully observe the machine’s movements and the accuracy of the cuts. This test will help you identify any further adjustments that may be needed.
In conclusion, setting up and calibrating a new CNC router requires a methodical approach, attention to detail, and patience. By following these steps, you can ensure that your machine is ready to produce precise and consistent work. Remember that the quality of your output is directly related to the care taken during setup. With your CNC router properly configured, you are now poised to embark on a wide array of projects, limited only by your imagination and the capabilities of your machine.
Calibrating Your CNC Router for Precision: A Step-by-Step Tutorial
Setting up and calibrating a new CNC router is a critical process that ensures the precision and accuracy of your machining projects. Whether you’re a hobbyist or a professional, taking the time to properly calibrate your machine can make a significant difference in the quality of your work. This step-by-step tutorial will guide you through the process of setting up and calibrating your CNC router to achieve optimal performance.
Firstly, it is essential to ensure that your CNC router is placed on a stable and level surface. Any unevenness can lead to inaccuracies in your cuts, so use a spirit level to check the machine’s bed and adjust the feet accordingly until the bed is perfectly horizontal. Once the router is level, secure it to the surface to prevent any movement during operation.
Next, you’ll want to check the alignment of the spindle. The spindle should be perfectly perpendicular to the table. To verify this, you can use a dial indicator or a precision square. If adjustments are necessary, refer to your CNC router’s manual for instructions on how to realign the spindle. This step is crucial as an improperly aligned spindle can cause uneven depths of cut and can even lead to tool breakage.
After ensuring the spindle is aligned, it’s time to calibrate the axes of your CNC router. Start with the X-axis, which is typically the longest axis. Use a known length of material or a machinist’s scale to measure the movement of the router. Command the machine to move a specific distance and measure the actual movement. If there is a discrepancy, adjust the steps per unit setting in your CNC control software until the movement matches the commanded distance.
Similarly, repeat this process for the Y-axis and Z-axis. Precision in these axes is equally important as they contribute to the overall accuracy of the machine. It’s not uncommon to have to make several adjustments and re-measure to get the settings just right. Patience is key during this stage of calibration.
Once the linear axes are calibrated, it’s time to ensure that the motion is smooth and free of backlash. Backlash is the play between the moving parts of the machine and can cause gaps in precision. To check for backlash, move an axis in one direction and then reverse the direction. Measure any gap in movement using a dial indicator. If backlash is present, you may need to adjust the tightness of your machine’s drive components or update the software settings to compensate for the play.
The final step in calibrating your CNC router is to set the tool length offsets. This involves measuring the length of each tool you will be using and inputting these values into the CNC control software. Accurate tool length offsets are vital for precise depth cuts, especially when changing tools during a job.
In conclusion, calibrating your CNC router is a meticulous but necessary process that ensures the accuracy and quality of your machining projects. By following these steps—ensuring a level setup, aligning the spindle, calibrating the axes, checking for backlash, and setting tool length offsets—you can achieve a well-tuned machine capable of producing precise and consistent results. Remember, calibration is not a one-time task; it should be performed periodically to maintain the high performance of your CNC router. With your machine now properly calibrated, you can confidently tackle even the most intricate of projects.
Mastering CNC Router Setup: Tips and Tricks for Successful Calibration
Mastering CNC Router Setup: Tips and Tricks for Successful Calibration
The advent of CNC (Computer Numerical Control) routers has revolutionized precision machining, offering unparalleled accuracy and efficiency in cutting a variety of materials. However, to harness the full potential of this sophisticated equipment, proper setup and calibration are paramount. This step-by-step guide will walk you through the process of setting up and calibrating a new CNC router, ensuring that you achieve optimal performance and precision in your machining projects.
Firstly, it is essential to select an appropriate location for your CNC router. The area should be stable, level, and free of vibrations that could affect the machine’s accuracy. Once the machine is positioned, secure it to the floor or workbench to prevent any movement during operation. This foundational step is crucial as it sets the stage for the precise operations that follow.
Next, you will need to connect the power supply and any necessary data cables. Ensure that all connections are secure and that the power supply is compatible with the machine’s requirements. After the electrical connections are established, power on the CNC router and initialize the control software. This software is the interface through which you will command the machine, so familiarize yourself with its features and settings.
The third step involves setting the machine’s home position, which serves as the reference point for all subsequent operations. To do this, manually move the router to the desired starting position and use the control software to set this as the home or origin point. It is vital that this position is set accurately, as it will affect the precision of all cuts made by the CNC router.
Following the establishment of the home position, you must calibrate the tool length offsets. This process involves measuring the length of each tool that will be used and inputting these values into the control software. Accurate tool length offsets are necessary to ensure that the cutting tools operate at the correct depth, preventing errors in the final workpiece.
After setting the tool length offsets, it is time to square the machine. This involves ensuring that all axes move perpendicular to each other. Use a precision machinist’s square to check the alignment of the axes. If any adjustments are needed, refer to the machine’s manual for instructions on how to make these corrections. A well-squared machine is critical for producing accurate and consistent parts.
The penultimate step is to set the spindle speed and feed rate according to the material you will be cutting and the type of tool being used. These parameters are crucial for achieving a good finish and prolonging the life of your cutting tools. The control software should provide guidelines for setting these values, but it may take some experimentation to find the optimal settings for your specific application.
Finally, perform a test run with a simple design to verify that the CNC router is calibrated correctly. Monitor the machine closely during this initial operation to ensure that it follows the programmed path accurately and that there are no unexpected behaviors. If any issues arise, pause the operation and troubleshoot according to the machine’s manual.
In conclusion, setting up and calibrating a new CNC router requires careful attention to detail and a methodical approach. By following these steps, you can ensure that your CNC router is properly configured for precise and efficient operation. Remember that regular maintenance and recalibration are necessary to maintain the accuracy of your machine over time. With these tips and tricks, you are now equipped to master the setup of your CNC router and embark on a journey of precise and creative machining.
Conclusione
Conclusione:
Setting up and calibrating a new CNC router involves a series of methodical steps to ensure accuracy and optimal performance. Begin by assembling the machine according to the manufacturer’s instructions. Secure the router to a stable and level surface to prevent vibrations and movement during operation. Connect all electronic components, including motors, controllers, and limit switches, and ensure proper wiring.
Install the cutting tool and perform a spindle alignment to ensure it is perfectly perpendicular to the work surface. Set the machine’s home and limit positions to define the working area and prevent the machine from moving beyond its physical capabilities. Calibrate the steps per unit for each axis to ensure precise movements according to the input commands.
Test the setup with trial runs, making adjustments to the speed, feed rate, and tool paths as necessary. Regularly check and maintain the machine to keep it in optimal condition. By following these steps, the CNC router will be accurately set up and calibrated, ready for precise and efficient machining tasks.

Lascia un commento