
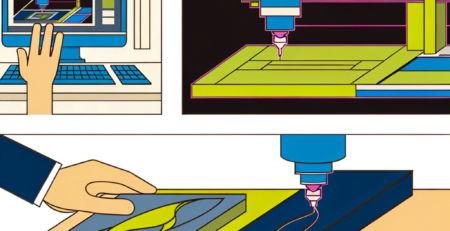
Calibrating Your CNC Cutting Machine: A Step-By-Step Guide
Sommario
“Precision in Every Cut: Mastering CNC Calibration for Flawless Fabrication”
introduzione
Calibrating your CNC (Computer Numerical Control) cutting machine is a critical process to ensure the accuracy, precision, and quality of your machining projects. Proper calibration aligns the machine’s movements with the intended cutting paths and compensates for any mechanical inaccuracies, wear, or environmental factors that could affect the outcome of your work. This step-by-step guide is designed to walk you through the calibration process, providing a systematic approach to adjusting your CNC machine for optimal performance. By following these instructions, you can achieve consistent results, extend the life of your machine, and reduce material waste. Whether you are working with a milling machine, lathe, or router, understanding how to calibrate your CNC equipment is essential for any machinist or hobbyist looking to produce precise and reliable parts.
Understanding the Importance of Regular CNC Machine Calibration
Calibrating Your CNC Cutting Machine: A Step-By-Step Guide
In the realm of precision manufacturing, CNC (Computer Numerical Control) cutting machines stand as the backbone of production, offering unparalleled accuracy and repeatability. However, to maintain this high level of performance, regular calibration is essential. Calibration ensures that the CNC machine operates within the specified tolerances, producing parts that meet exact specifications and quality standards. Neglecting this critical maintenance procedure can lead to subpar products, increased waste, and potential machine damage, which in turn can cause costly downtime.
The calibration process involves adjusting the CNC machine’s settings and controls to correct any deviations from the original factory specifications. Over time, wear and tear, thermal variations, and mechanical stresses can cause a machine to drift from its calibrated state. Consequently, regular calibration becomes a vital practice to ensure that every cut, drill, or mill is as precise as the first.
To begin the calibration process, it is imperative to start with a clean machine. Residual material and debris can affect the machine’s movement and the accuracy of the calibration. After cleaning, the next step is to check the machine’s geometric accuracy. This includes verifying the straightness, flatness, and squareness of the axes. Precision instruments such as laser interferometers or autocollimators are often used to measure these parameters, providing feedback on the machine’s alignment.
Following the geometric checks, the next phase involves the calibration of the machine’s spindle. The spindle is the part of the machine that holds and rotates the cutting tools. It is crucial that the spindle runs true, without any wobble or runout, to ensure the accuracy of the cuts. A dial indicator is typically used to measure the spindle’s accuracy, and adjustments are made until the spindle operates within the acceptable range.
Once the geometric and spindle calibrations are complete, attention is turned to the machine’s backlash. Backlash refers to the amount of play between the moving parts of the machine, particularly in the lead screws and axis drives. Excessive backlash can lead to positioning errors and a loss of precision. By adjusting the machine’s software or mechanical components, technicians can minimize backlash and enhance the machine’s accuracy.
The final step in the calibration process is to verify the tool length offsets and the overall system accuracy. This involves measuring the position of the tool tip in relation to the workpiece and ensuring that the machine’s control system accurately reflects these measurements. Any discrepancies found are corrected by adjusting the tool length offsets in the machine’s control software.
Regular calibration of a CNC cutting machine is not just about maintaining accuracy; it is also about optimizing the machine’s performance and extending its lifespan. A well-calibrated machine operates more efficiently, with less wear on its components, leading to reduced maintenance costs and longer intervals between repairs.
In conclusion, the calibration of CNC cutting machines is a meticulous but necessary process that underpins the quality and efficiency of manufacturing operations. By adhering to a systematic calibration routine, manufacturers can ensure that their CNC machines continue to produce parts that meet stringent quality standards, thereby safeguarding their reputation for excellence in a competitive market. Regular calibration is not just a maintenance task; it is an investment in the reliability and longevity of the CNC cutting machine.
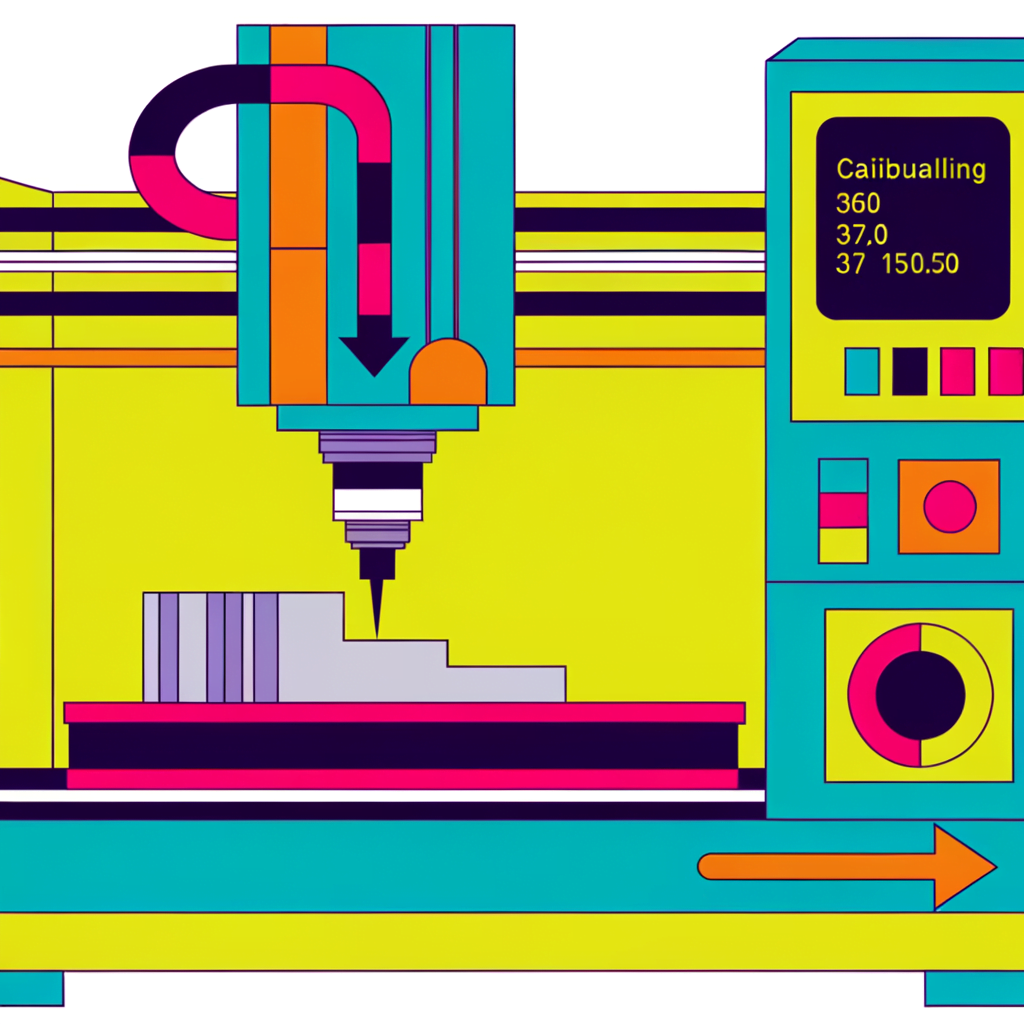
Step-by-Step Procedures for Calibrating Your CNC Cutting Machine
Calibrating Your CNC Cutting Machine: A Step-By-Step Guide
Precision is paramount in the world of CNC machining, where the difference between a successful project and a costly mistake can be measured in micrometers. Calibrating your CNC cutting machine is a critical step to ensure that your output meets the exacting standards required for your work. This guide will walk you through the step-by-step procedures necessary to calibrate your CNC machine, ensuring that it operates at peak performance.
Firstly, it is essential to understand that calibration is not a one-time event but a regular maintenance task that keeps your machine accurate over time. Before beginning the calibration process, make sure that your machine is clean and free from any debris that could affect its movement or measurements. Also, ensure that all the tools you will use for calibration are precise and in good condition.
The initial step in the calibration process involves checking the level of the machine. A perfectly level bed is crucial for accurate cuts. Use a precision level to check the bed in multiple locations. If adjustments are needed, refer to your machine’s manual for instructions on how to level the bed properly. This may involve adjusting the legs of the machine or using shims to achieve a level surface.
Next, focus on the spindle or cutting tool alignment. The spindle should be perfectly perpendicular to the machine bed. Any deviation can cause uneven cuts and reduce the accuracy of your work. To check the alignment, lower the spindle so that a tool or a dial indicator touches the bed. Rotate the spindle by hand and observe the dial indicator for any variation. Adjust the spindle according to the manufacturer’s specifications until the dial indicator shows no change in measurement as the spindle rotates.
After ensuring the spindle is aligned, it’s time to calibrate the axes of your CNC machine. The X, Y, and Z axes must move accurately according to the input commands. Use a known length of gauge block or a high-precision measuring tape to check the movement of each axis. Command the machine to move a specific distance and compare it to the actual movement measured. If there is a discrepancy, adjust the scaling factors in the machine’s control software until the commanded and actual movements match.
Furthermore, backlash, which is the amount of play between the moving parts of the machine, must be minimized. Backlash can cause a loss of precision in the positioning of the cutting tool. To measure backlash, use a dial indicator to measure the movement of an axis when changing direction. Adjust the axis nuts or software settings to reduce the backlash as much as possible.
Lastly, it is crucial to calibrate the tool length offsets, especially if your machine uses automatic tool changers. The machine needs to know the exact length of each tool to position it correctly above the workpiece. Use a tool setting probe or a pre-setter to measure each tool. Enter these measurements into the machine’s control system to ensure that it compensates for different tool lengths during operation.
In conclusion, calibrating your CNC cutting machine is a meticulous but necessary process that ensures the accuracy and quality of your machining projects. By following these steps—leveling the bed, aligning the spindle, calibrating the axes, minimizing backlash, and setting tool length offsets—you can maintain the precision of your CNC machine. Regular calibration, combined with routine maintenance, will extend the life of your machine and uphold the standards of your work. Remember, in the realm of CNC machining, precision is not just a goal; it is the foundation upon which quality is built.
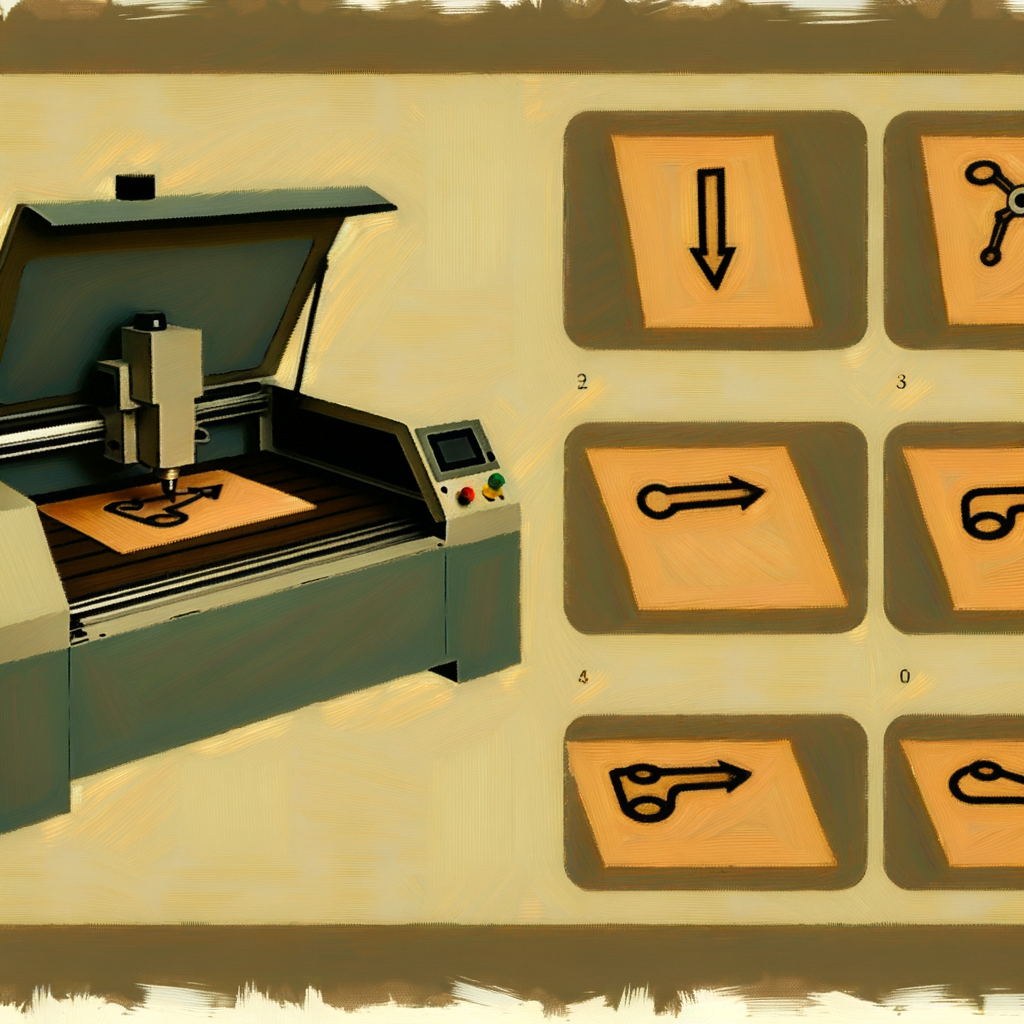
Troubleshooting Common Issues During CNC Machine Calibration
Calibrating Your CNC Cutting Machine: A Step-By-Step Guide
In the realm of precision machining, the calibration of CNC cutting machines is a critical process that ensures the accuracy and quality of the products being manufactured. However, during the calibration process, operators may encounter a variety of issues that can affect the performance of the machine. Understanding how to troubleshoot these common problems is essential for maintaining the efficiency and reliability of CNC operations.
One frequent issue that arises during calibration is the misalignment of the machine’s axes. This can lead to inaccuracies in the cutting process, resulting in parts that are out of tolerance. To address this, operators should first check the machine’s mechanical components, such as the linear guides, ball screws, and spindle, for any signs of wear or damage. If any components are found to be defective, they must be repaired or replaced before proceeding with the calibration. Once the mechanical integrity of the machine is confirmed, recalibration of the axes can be performed using a dial indicator or laser system to ensure precise alignment.
Another challenge that may be encountered is the inconsistency in the machine’s spindle speed and feed rate. These parameters are crucial for achieving the desired surface finish and dimensional accuracy. If the spindle speed or feed rate deviates from the set values, it could be due to issues with the machine’s control system or the servo motors. To resolve this, operators should verify the calibration of the control system and check the servo motors for any signs of overheating or abnormal noise, which could indicate a need for maintenance or replacement.
Temperature fluctuations within the working environment can also impact the calibration of CNC machines. Metals expand and contract with changes in temperature, which can cause dimensional changes in the machine components and workpiece. To mitigate this, it is important to maintain a stable temperature in the machining area. Additionally, operators should allow the machine to warm up to its operating temperature before starting the calibration process to ensure that thermal expansion has been accounted for.
Vibration is another factor that can disrupt the calibration of CNC machines. Excessive vibration can originate from a variety of sources, including unbalanced tooling, loose components, or external disturbances. To troubleshoot this issue, operators should inspect and balance all tooling, tighten any loose components, and isolate the machine from external vibrations as much as possible. Anti-vibration pads or mounts can be used to further reduce the transmission of vibrations to the machine.
Lastly, software-related problems can also hinder the calibration process. CNC machines rely on sophisticated software to interpret design files and translate them into precise cutting instructions. If there are errors in the software configuration or if the software is outdated, it can lead to calibration errors. Operators should ensure that the machine’s software is up to date and correctly configured according to the manufacturer’s specifications. If software issues persist, consulting with the software provider or seeking technical support may be necessary.
In conclusion, calibrating a CNC cutting machine is a meticulous process that requires attention to detail and a systematic approach to troubleshooting. By understanding and addressing common issues such as axis misalignment, spindle speed inconsistencies, temperature effects, vibration, and software problems, operators can ensure that their CNC machines operate at peak performance. Regular calibration not only enhances the precision of the machining process but also extends the lifespan of the equipment, contributing to the overall success of manufacturing operations.
Conclusione
Conclusione:
Calibrating your CNC cutting machine is a critical process to ensure precision and accuracy in your machining projects. A well-calibrated machine will produce parts that meet specifications and reduce material waste. The step-by-step guide to calibration typically involves checking and adjusting the machine’s mechanical components, verifying the accuracy of the spindle and tool positions, and updating the software settings to compensate for any deviations. Regular calibration, as part of machine maintenance, can extend the life of the CNC machine and maintain the quality of the output. It is important to follow the manufacturer’s guidelines and use proper tools and techniques during the calibration process to achieve the best results.
Lascia un commento