Cómo preparar archivos vectoriales 2D para obtener resultados CNC impecables
Tabla de contenido
“Crafting Precision: Mastering 2D Vector Files for Impeccable CNC Outcomes”
Introducción
This guide provides a comprehensive overview on how to prepare 2D vector files for flawless CNC results. It covers the essential steps and techniques required to ensure the accuracy and precision of CNC machining. From understanding the basics of 2D vector files, choosing the right software, to the actual process of preparing the files, this guide aims to equip readers with the necessary knowledge and skills. It also highlights common mistakes to avoid and tips for achieving the best possible CNC results. Whether you’re a beginner or an experienced machinist, this guide can serve as a valuable resource for your CNC machining needs.
Mastering the Art of Preparing 2D Vector Files for Optimal CNC Results
Mastering the art of preparing 2D vector files for optimal CNC results is a skill that requires a blend of technical knowledge, precision, and creativity. This process is crucial in the world of CNC machining, where the quality of the final product is heavily dependent on the accuracy of the initial design. By understanding the intricacies of preparing 2D vector files, you can ensure flawless CNC results every time.
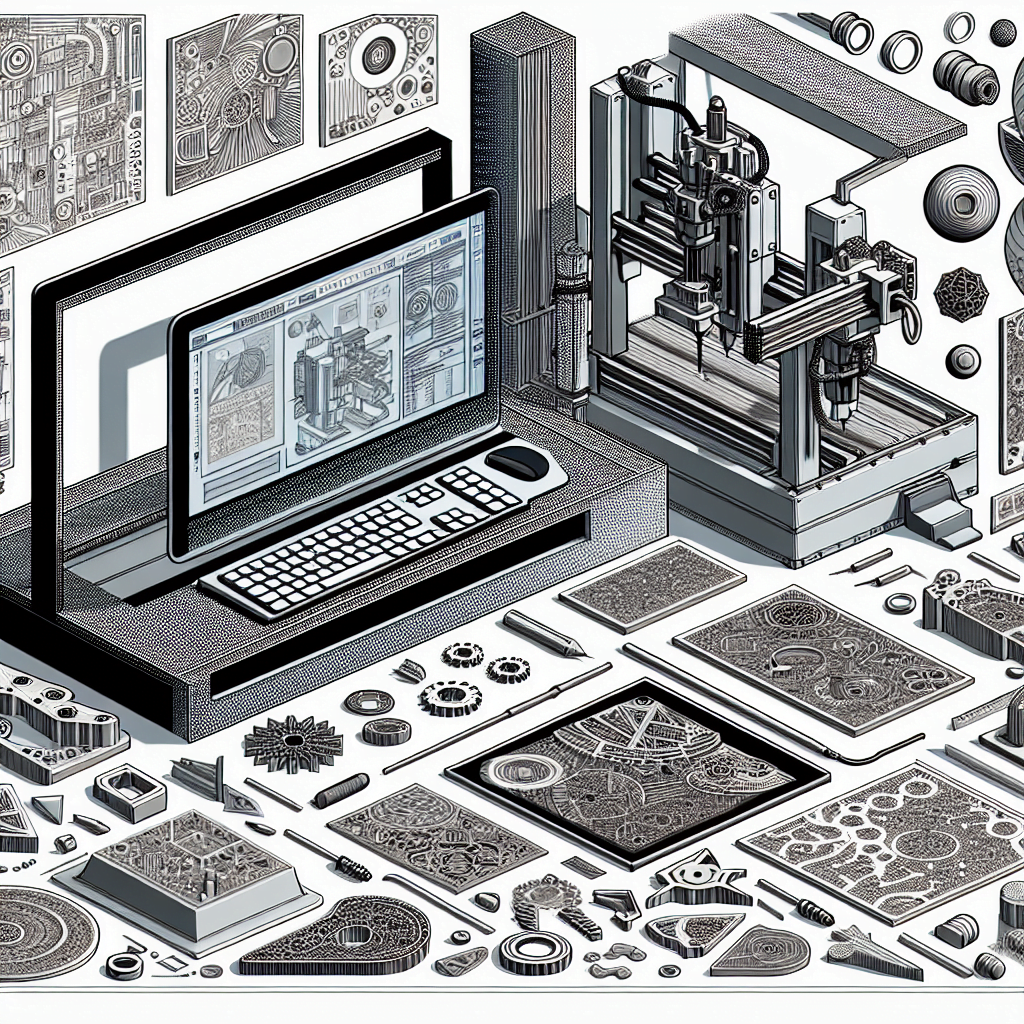
The first step in preparing 2D vector files for CNC machining is to create a precise and detailed design. This design serves as the blueprint for the CNC machine, dictating every cut, curve, and contour of the final product. It is essential to use a professional-grade vector graphics software, such as Adobe Illustrator or CorelDRAW, to create your design. These programs offer a wide range of tools and features that allow you to create intricate and precise designs that are perfect for CNC machining.
Once you have created your design, the next step is to convert it into a format that the CNC machine can understand. This is typically done by exporting the design as a DXF or DWG file. These file formats are universally recognized by CNC machines and contain all the information needed to accurately reproduce your design. When exporting your design, it is important to ensure that all lines and curves are connected and that there are no stray points or segments. This will ensure that the CNC machine can accurately follow your design without any errors or interruptions.
After exporting your design, it is important to thoroughly check the file for any potential issues. This includes checking for any overlapping lines or curves, any gaps in the design, and any other inconsistencies that could affect the final product. It is also important to check the scale of the design to ensure that it matches the size of the material you will be using. If any issues are found, they should be corrected before the file is sent to the CNC machine.
Once you are satisfied with your design and have checked it for any potential issues, the final step is to prepare the CNC machine itself. This involves setting up the machine with the correct tools and materials, and inputting the correct settings for the job. This includes the speed and feed rate of the machine, the depth of cut, and the type of tool being used. By carefully setting up the machine and inputting the correct settings, you can ensure that your design is accurately and efficiently reproduced.
In conclusion, preparing 2D vector files for CNC machining is a complex process that requires a high level of precision and attention to detail. By creating a detailed and accurate design, converting it into a format that the CNC machine can understand, checking the file for any potential issues, and carefully setting up the machine, you can ensure flawless CNC results every time. With practice and patience, anyone can master the art of preparing 2D vector files for optimal CNC results.
Step-by-Step Guide to Creating 2D Vector Files for CNC Machining

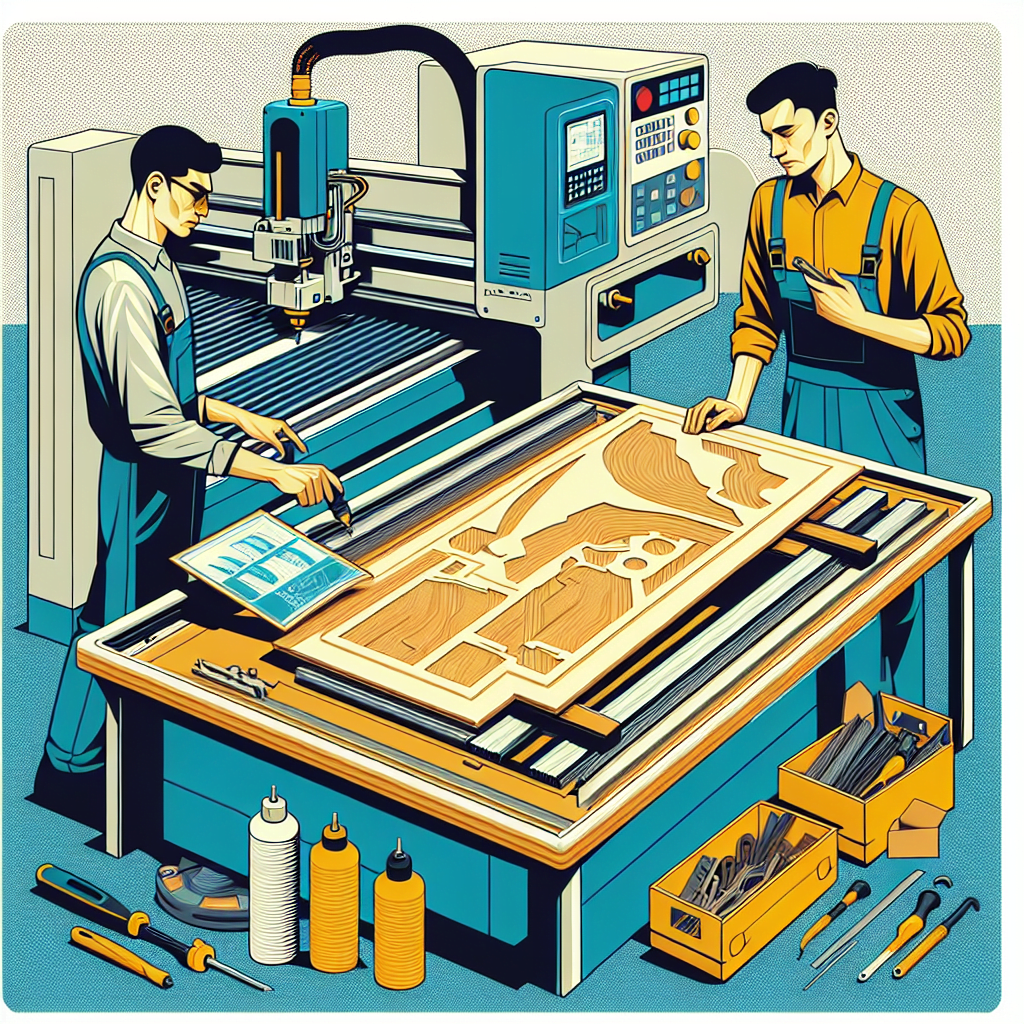
CNC machining is a powerful tool that has revolutionized the manufacturing industry. It allows for precise, automated production of parts and components, but to achieve flawless results, the process begins with the creation of a perfect 2D vector file. This file serves as the blueprint for the CNC machine, guiding it to cut, drill, and shape the material to the exact specifications.
The first step in creating a 2D vector file is to choose the right software. There are numerous CAD (Computer-Aided Design) programs available, each with its own strengths and weaknesses. Some popular choices include AutoCAD, Adobe Illustrator, and CorelDRAW. The choice of software often depends on the complexity of the design and the user’s familiarity with the program.
Once the software is chosen, the next step is to create the design. This process begins by setting the correct scale for the design. It’s crucial to ensure that the design’s dimensions match the actual size of the part to be machined. This is because the CNC machine will follow the design to the letter, and any discrepancy in size will result in a part that does not fit or function as intended.
After setting the scale, the design process can begin. This involves drawing the shape of the part using the software’s drawing tools. It’s important to remember that the CNC machine will cut along the lines drawn, so it’s essential to make them as accurate as possible. This might involve using geometric shapes, curves, and lines to create the desired shape.
Once the shape is drawn, it’s time to add details. This could include holes, slots, or other features that need to be machined into the part. These should be drawn to scale and placed accurately within the design. It’s also important to consider the order in which these features will be machined. For example, it’s usually best to machine holes before cutting out the overall shape to ensure the material remains stable during the machining process.
After the design is complete, it’s time to save it as a 2D vector file. This is the file format that the CNC machine can read and interpret. The most common types of 2D vector files are DXF (Drawing Exchange Format) and DWG (DraWinG). These file formats preserve the design’s scale and details, ensuring that the CNC machine can accurately reproduce the design.
Before sending the file to the CNC machine, it’s a good idea to double-check the design. This involves reviewing the scale, the placement of features, and the order of operations. Any errors or oversights can lead to costly mistakes during the machining process, so it’s worth taking the time to ensure everything is correct.
In conclusion, creating a 2D vector file for CNC machining involves choosing the right software, creating an accurate design, adding details, and saving the design as a 2D vector file. By following these steps, you can ensure that your CNC machine produces flawless results every time.
Achieving Precision: How to Prepare 2D Vector Files for CNC Operations
Achieving precision in Computer Numerical Control (CNC) operations is a critical aspect of manufacturing and fabrication processes. One of the key steps in ensuring this precision is the preparation of 2D vector files. These files serve as the blueprint for the CNC machine, guiding it to create the desired design with utmost accuracy. Therefore, preparing these files correctly is crucial for flawless CNC results.
The first step in preparing 2D vector files for CNC operations is to create a clear and precise design. This design should be simple and straightforward, avoiding unnecessary complexity that could confuse the CNC machine. The design should also be scalable, allowing it to be resized without losing any detail or precision. This can be achieved by using vector graphics software such as Adobe Illustrator or CorelDRAW. These programs allow for the creation of scalable vector graphics (SVG) files, which are ideal for CNC operations.
Once the design is created, it needs to be converted into a format that the CNC machine can understand. This is typically a DXF (Drawing Exchange Format) or DWG (DraWinG) file. These file formats are universally accepted by CNC machines and contain all the necessary information for the machine to accurately reproduce the design. The conversion process can be done within the vector graphics software by simply saving the design in the appropriate format.
After the file has been converted, it’s time to optimize it for the CNC machine. This involves removing any unnecessary elements from the design that could potentially cause issues during the machining process. For example, overlapping lines or shapes can confuse the CNC machine and result in errors. Therefore, it’s important to thoroughly inspect the design and remove any potential problem areas.
Next, the file needs to be prepared for the specific CNC machine that will be used. This involves setting the correct scale and units for the machine, as well as defining the tool paths. The tool paths are the routes that the CNC machine will follow to create the design. They need to be defined accurately to ensure that the machine cuts, drills, or mills the material in the correct places. This can be done using CAM (Computer-Aided Manufacturing) software, which allows for precise control over the CNC machine’s movements.
Finally, the prepared file needs to be tested before it’s used in a real CNC operation. This can be done by running a simulation in the CAM software, which will show how the CNC machine will interpret the file and execute the design. If any issues are identified during the simulation, they can be corrected before the file is used in a real operation.
In conclusion, preparing 2D vector files for CNC operations involves several steps, including creating a clear and precise design, converting the design into a CNC-compatible format, optimizing the file for the CNC machine, defining the tool paths, and testing the file. By following these steps, manufacturers and fabricators can ensure that their CNC operations are accurate and efficient, resulting in flawless results.
Conclusión
In conclusion, preparing 2D vector files for flawless CNC results involves several steps. First, you need to create a design using a vector-based software like Adobe Illustrator or AutoCAD. The design should be simple and clean, avoiding gradients and complex shapes. Next, you need to save the design in a CNC-compatible format, such as DXF or SVG. It’s also important to ensure that the design is scaled correctly, as the CNC machine will cut the design exactly as it appears in the file. Finally, you should double-check the design for any potential errors before sending it to the CNC machine. By following these steps, you can ensure that your 2D vector files are prepared correctly for CNC machining, leading to flawless results.


Deja una respuesta